Page 24 of 29

Re: Building my Cylon-Knight

Posted: Fri Apr 12, 2013 6:55 am
by Red Eye
Now, it seems your armor is about to get finished!

Awesome work!

Re: Building my Cylon-Knight

Posted: Fri Apr 12, 2013 7:03 pm
by Flyboy
WoW! awesome Work!!

Re: Building my Cylon-Knight

Posted: Fri Apr 12, 2013 11:31 pm
by Cylon-Knight
Thanks guys! I am keeping at it... gotta be ready for Galacticon :cylon: :erk:

ImageImage
Left: Glued the scabbard together. I am afraid that it will be waaaaay too weak.
Right: Added plastic layer.

ImageImage
Left: Putty on the edges, I'll sand it up all smooth and when chromed it will seem as one piece
Right: My chest scratch build again - I sanded down the trim to size and then added putty again.

Image
A few touch up putty spots added to the helmet and back pack (not picture) too

Tomorrow should be the final sanding on the armor! And I am going to try to bake the F.L.A.G. Knight too... we'll see how that goes. :)
I'm going to review my "to do" list and see what else to tend too.

Re: Building my Cylon-Knight

Posted: Mon Apr 15, 2013 12:56 am
by Cylon-Knight
O.M.G.
I've been working so crazy fast on my Centurion! *wipes brow*
I got my armor ready to get out to Hand-Schaub. CHROME IS ON THE WAY BABY... "Cylon-White" no more :D
Below is the new update:

ImageImage
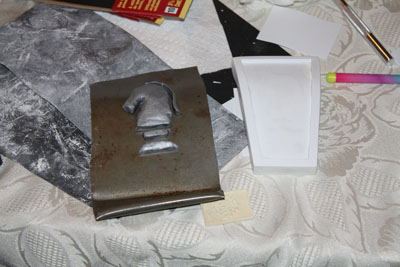
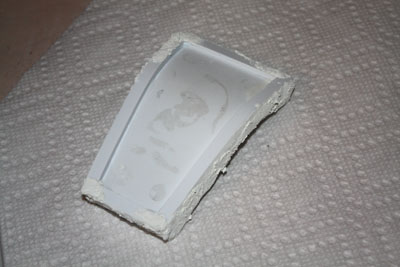
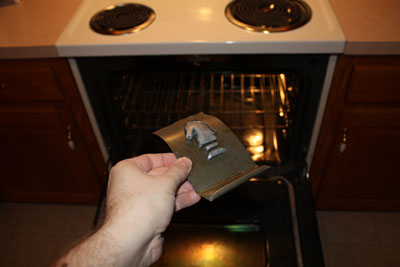
Left: I needed to bake my clay F.L.A.G. Knight logo, cut up and bent an old cookie sheet. Man, I LOVE tin snips. :)
Right: All moved over, ready to bring on the HEAT
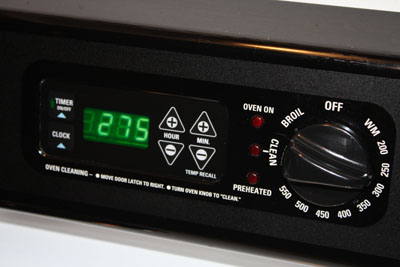
ImageImage
Left: 275 degrees
Right: Here we go....

ImageImage
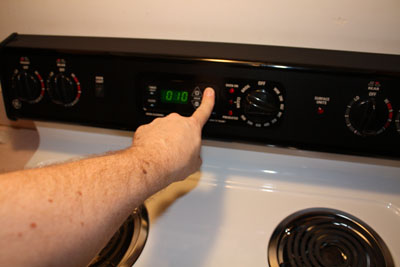
Left: Setting the timer to 30 min per 1/4" of clay. Mine was just a TINY bit over 1/4 at the thickest part, so I just did 30 min.
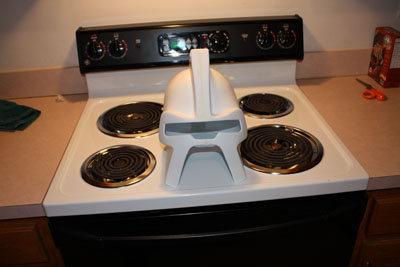
Right: Cooking with Cylon-Knight, brought to you by Sculpey :lol:

ImageImage
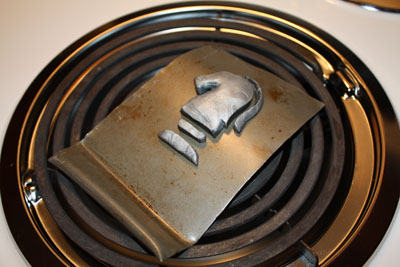
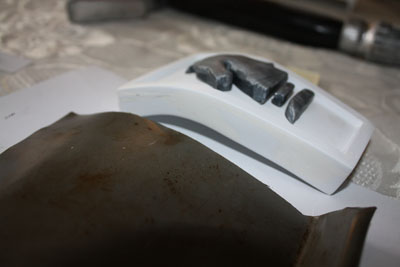
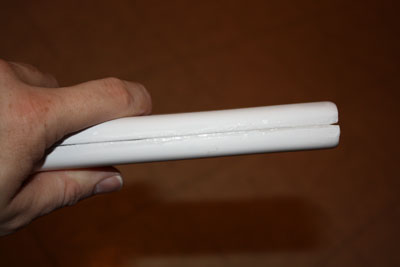
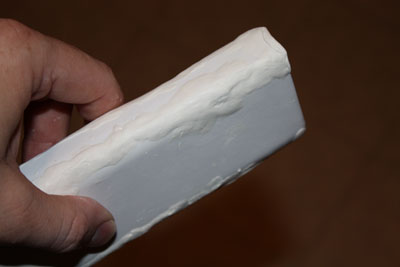
Left: Out of the oven, looking good! I let it cool for a few hours. I have cut myself enough - didn't want a burn too!
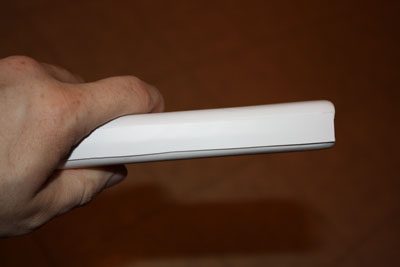
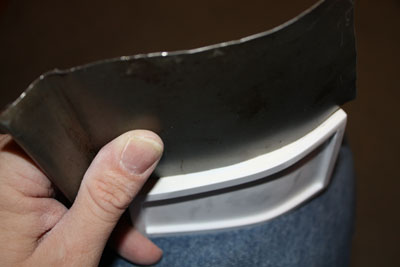
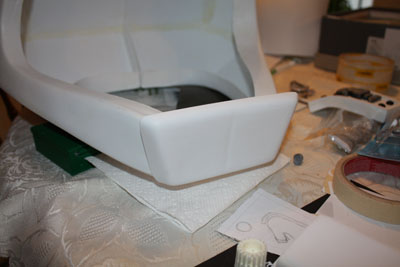
Right: Here we go, back on the chest bit - the curve is looking GOOD.

ImageImage
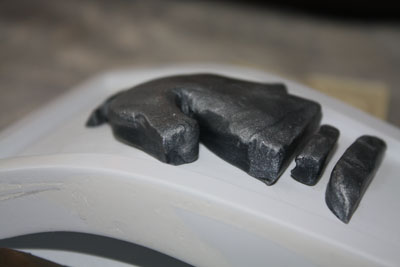
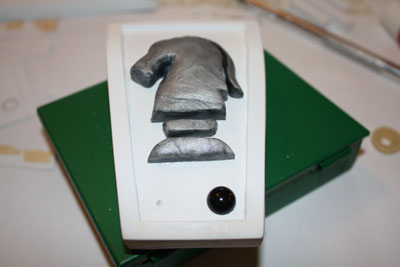
Left: Close up of the curve. Ever thing worked out. *JOY*
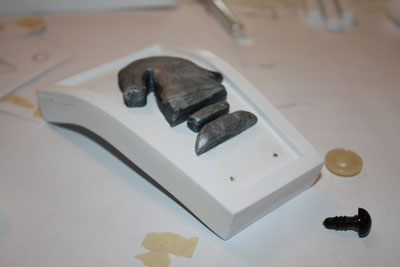
Right: Time to put on the doll eye "bolts" - marked the spots to drill.
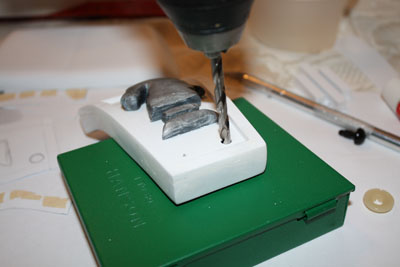
ImageImage
Left: Drilling
Right: A Hole

ImageImage
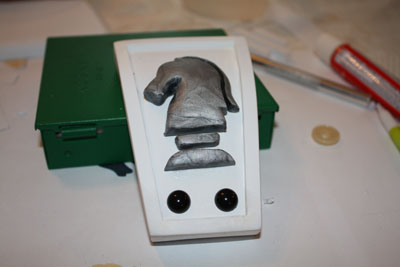
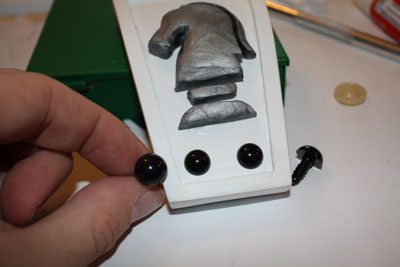
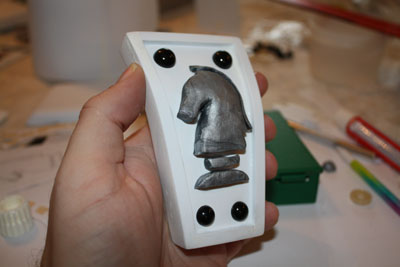
Left: First "bolt" in - perfect fit, snaps right into place like it was made in a Cylon Factory!
Right: Both lower bolts are done. Sweet.

ImageImage
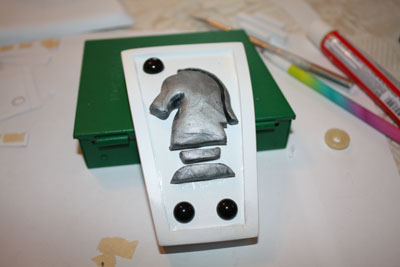
Left: Here you can see how the top bolts (Doll Eyes) are just a TINY bit larger, just like the Cylon Insignia (or so as I can tell)
Right: Drilling and attaching the top bolts

Image
All done! MY FIRST SCRATCH BUILD!!!!!!!

ImageImage
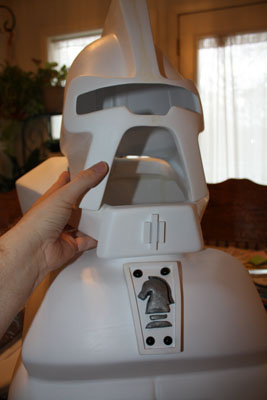
Test fitting with all the Cylon-Knight Insignia bits

ImageImage
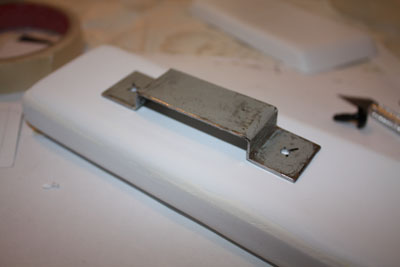
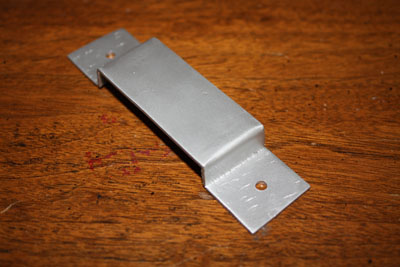
Left: Gotta keep going! My Scabbard bracket - hand crafted by Brother-Cylon-Knight. AWESOME HUH???? I told him we need to make some to stock the Cylon Store - stay tuned on that after he perfects mine.
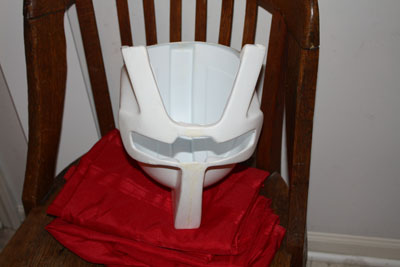
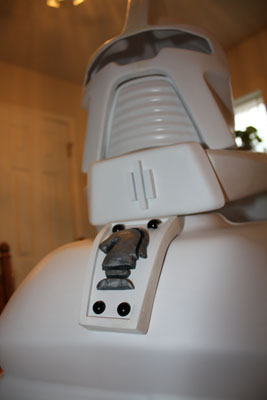
Right: The back pack collar part is now glued in place. Everything is TOGETHER and ready for chrome as best as I can do.

Image
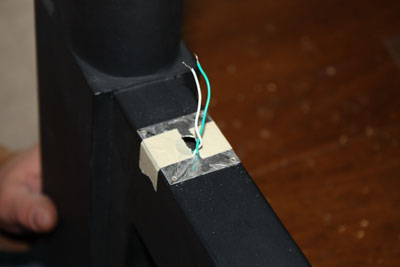
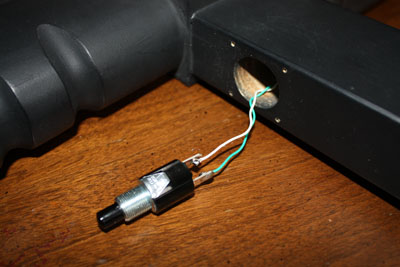
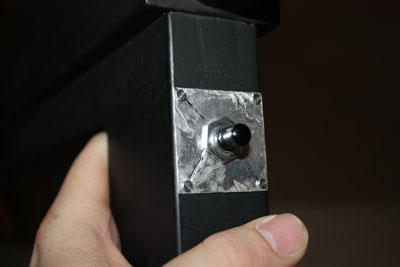
The trigger hole in my Sean Rifle. Brother-Cylon-Knight came up with the perfect solution to mount the switch to the rifle. Stay tuned for that in a later update.

Image
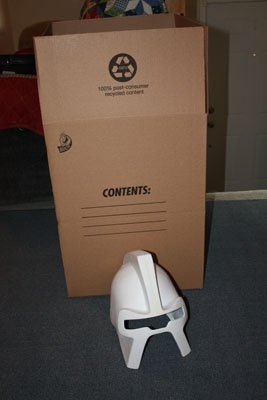
Okay. It is time Cylon-Knight travels a bit more, this time to Sunny California for some wicked CHROME!!!
He has a brand new box, and me to pack him up so over-kill style, it isn't even funny. :roll:

ImageImage
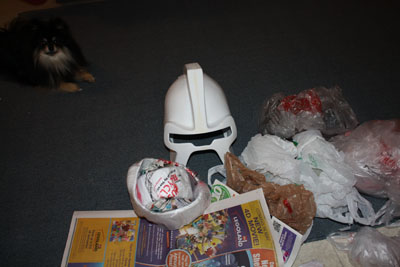
Left: Look, top left, Cylon Puppy is going to miss Cylon-Knight. :(
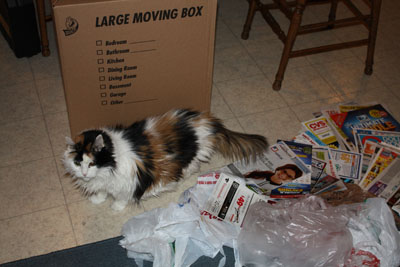
Right: Look, Cylon Kitty is going to miss Cylon-Knight too! :(
They both showed up to wish him well on his trip to see his Cylon brother, Hand-Schaub.

ImageImage
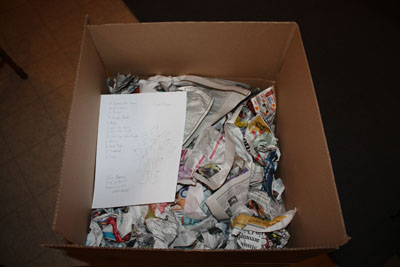
Left: All packed up, and a packing list of all the various treasures inside the box.
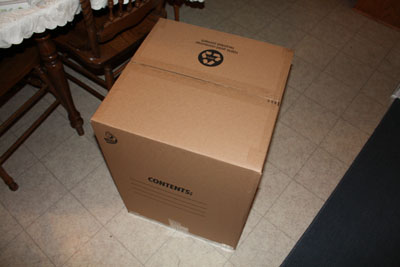
Right: Closed up. Wow, a lot of money and work all fit in such a small box... dang! Happy travels buddy, see a shiny new you when you get back home.

Re: Building my Cylon-Knight

Posted: Mon Apr 15, 2013 1:10 am
by GoldCylon
I was looking at that handy drill work, and thinking Ha...He is screwed.... :lol: :lol: :lol: , anyway looks awesome. Very well done. Can't wait to send the attack Daggit after you. Making your own personal rate. Outlandish. Unless the Daggit's I say. :cylongold:

Re: Building my Cylon-Knight

Posted: Mon Apr 15, 2013 1:15 am
by Hand-Schaub
Great work! It will be in good hands.

Re: Building my Cylon-Knight

Posted: Mon Apr 15, 2013 1:34 am
by rustycylon
I like the FLAG insignia. Very smart.
Did you consider painting the armour gloss black like KITT.
I always wondered what a cylon would look like in gloss black.
Anyway good work. :cylon:

Re: Building my Cylon-Knight

Posted: Mon Apr 15, 2013 4:28 am
by groupleaderzeta
Great work, and the insignia came out better than I thought. can't wait to see everything chromed up.

Re: Building my Cylon-Knight

Posted: Mon Apr 15, 2013 10:10 am
by Red Eye
Oh my... there's so much to look at! :cool:

LOVE the insignia, by the way. It came out GREAT!

Re: Building my Cylon-Knight

Posted: Mon Apr 15, 2013 5:46 pm
by sean
Bro! Looks awesome..and that knight is just too Cool.It makes me SO HAPPY to finely see you get to this point of your build.
Great job my Cylon brother.....

Re: Building my Cylon-Knight

Posted: Mon Apr 15, 2013 5:52 pm
by Cy
Im sure Ill hear all the giggling all the way here in Cal when you finally get to see it chromed. Nice work my friend.

Re: Building my Cylon-Knight

Posted: Thu Apr 18, 2013 8:28 pm
by Cylon-Knight
Thanks everyone!
Cylon-Knight is now in Sacramento... On a truck for delivery!

Hand-Schaub take some photos if you can please... Of "The night the Cylon-Knight landed" ;-)
I told my wife she can scrapbook me up a build album, lucky her. lol

Re: Building my Cylon-Knight

Posted: Fri Apr 19, 2013 10:11 am
by Hand-Schaub
Transit complete. Box was here at 7:30am. Sorry no pictures but everything is in good order. I'm off to work now but a bit later I will be bringing the suit to the chrome painter. Will report later tonight

Re: Building my Cylon-Knight

Posted: Fri Apr 19, 2013 11:49 am
by Cylon-Knight
:cylon: whooooo wheeeee!!! Thank you HS!!!!

Re: Building my Cylon-Knight

Posted: Sun Apr 21, 2013 11:35 pm
by Cylon-Knight
ImageImage
Left: My new plate to mount the "trigger" switch in my rifle - 1/2 installed when this photo was taken.
Right: The switch all wired up.

Image
Installed! It will be painted black and blend in then. It was made from some tread plate metal - but the treads were hammered down. The paint will help to hide the fact they used to be there. The little screws are not quite flush, but, with a hockey glove finger over the trigger ready to *zap* at any moment no one will ever see them.
:erk:

Image
The Scabbard mount, all done - and super Cylon sexy! :)
Only thing is ... the scabbard is in California now to be chromed - D'OH! lol