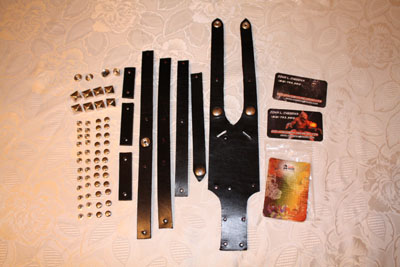
Page 16 of 29

Re: Building my Cylon-Knight

Posted: Mon Jul 11, 2011 8:14 am
by Red Eye
Nice! Have to order one soon as well...

Are you going for a kit or an assembled one?

Re: Building my Cylon-Knight

Posted: Mon Jul 11, 2011 8:20 am
by Cylon-Knight
I went for the kit... gotta feel like I'm building something on my Cylon until I get back to actually building on it!!! :oops: haha

Re: Building my Cylon-Knight

Posted: Mon Jul 11, 2011 8:24 am
by Red Eye
Good one! :lol:

I think I'll go for the kit solution as well.

Re: Building my Cylon-Knight

Posted: Sun Jul 17, 2011 12:53 am
by Cylon-Knight
And here are photos of my kit!
EXPERTLY DONE by Skullbeast. And cRaZy fast from the time of my order to my doorstep.
Cylon-Knight Mind APPROVED. If you've got a Cylon Pistol, this holster kit is where I'd suggest you stick it ;)

ImageImage
Left: The full kit. Hardware & Leather (plus two killer business cards and the hardware's pouch.
Right: Close up of the leather, and pre cut holes. Ready to hammer the below quick rivets into place.

ImageImage
Left: Awesome Cylon bling bling ;)
Right: The quick rivets that will hold everything together.

More on its assembly as quick as I can - have to work quite a bit tomorrow on my actual job stuff :(

Re: Building my Cylon-Knight

Posted: Sun Jul 17, 2011 1:22 am
by GoldCylon
Looks like it is going to be a great build. At least a awesome kit. Knocked it out of the park it it having it ready in record time to ship also.

Re: Building my Cylon-Knight

Posted: Sun Jul 17, 2011 3:11 am
by Red Eye
Can't wait seeing it being built up! Good luck with it!

Building my Cylon-Knight

Posted: Sun Jul 17, 2011 10:32 am
by Skullbeast
Sweet Jesus! Wow you made that look professional! I got to get you on my advertisement team. Enjoy! Beware colonial warriors your days are numbered. Cylons attack!!

Re: Building my Cylon-Knight

Posted: Mon Jul 18, 2011 12:20 am
by Cylon-Knight
Back to my build, rifle, pistol and pistol holster after this message about ME:
***

Over at GalacticaBBS.com we had a contest for the site's banner. I won the contest and my prize from the site owner was an awesome T-Shirt.
Much love for GBBS and Zipper - w00t!

Here is me and my spoils of war ;)
Image

P.S. This was the most armor I've ever suited up in at once and walked around in. Loved it!

***
Now, back to my regularly scheduled babbling...

Re: Building my Cylon-Knight

Posted: Sun Jul 24, 2011 2:13 pm
by Cylon-Knight
And now back to scheduled programming....


The pistol holster build is started :)
ImageImage
Left: I got a new rapid Rivet kit from JoAnn's (fabric store) for the setting tool)
Right: Said setting tool. I found that the "bottom" circle didn't really help much. Just putting the post (bottom half of the rapid rivet) on the board was fine.

ImageImage
Left: All laid out, ready to start beating stuff with a hammer :twisted:
Note: Sorry Skullbeast, but as luck would have it I found the quick rivets in my new kit I got for just the setting tool were going to work better. They are from the exact some company that you sent, but a TINY big longer posts were in my potpourri mix of rivets. I'll post up a photo comparison of them later on.
Right: BAM BAM BAM BAM! The first four rapid rivets are in. Everything is going together perfectly - thanks to Skullbeast's excellent workmanship on his kit.

ImageImage
Left: BAM BAM! Two more rivets set, all the cross braces are in place.
Right: BAM BAM! The two "do nothing but look pretty" rivets are in place (the smaller ones on the right, the larger ones are snaps Skullbest pre-set).
Note: Again, I used a different sized rivet for these from my potpourri. A tiny bit shorter post on these, as they only have to go through 1 layer of leather.

Image
And lastly for now, as I need to go get more potpourri rivets, only got 10 of the longer ones in my pack!!! arrrrg
You can see I have the base half way set here.

P.S. I'm just working on a board on my lap - actually the bottom of a spare shelf from my entertainment center that has been lying around forever. Anything you could hammer on would do to assemble the kit. Just don't hammer too hard if it is in you lap! :shock:

Re: Building my Cylon-Knight

Posted: Sun Jul 24, 2011 2:21 pm
by Red Eye
Nice work so far!

And thanks for making the instruction sheet, by the way! :salute:

Skullbeast was so kind forwarding it to me... :wink:

Re: Building my Cylon-Knight

Posted: Sun Jul 24, 2011 2:24 pm
by GoldCylon
Cool gun slinger in the making.

Building my Cylon-Knight

Posted: Sun Jul 24, 2011 6:13 pm
by Skullbeast
Cool! I just used a hammer and a real anvil and smashed them to fit. Enjoy.

Re: Building my Cylon-Knight

Posted: Thu Jul 28, 2011 10:36 pm
by Cylon-Knight
Another slight diversion from my build:
I've updated Cylon-Knight.com with all the Gary the Cylon vids! WOOT!!!

Re: Building my Cylon-Knight

Posted: Mon Aug 01, 2011 1:13 am
by Cylon-Knight
Holster time!

ImageImage
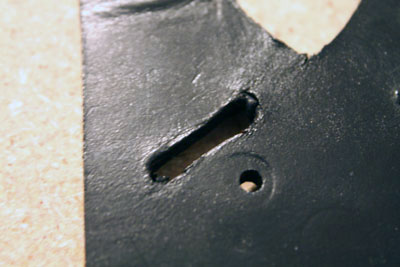
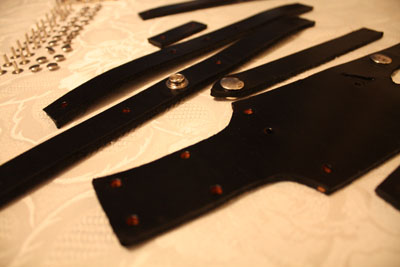
Left: First, this slit for the band was a BIT too small.
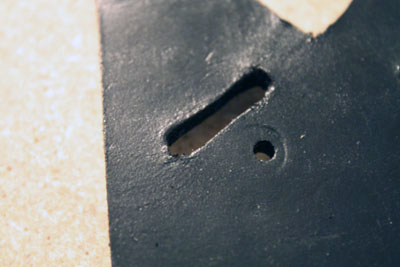
Right: Opened up, cleaned up the slit. So the band will go through it okay.

ImageImage
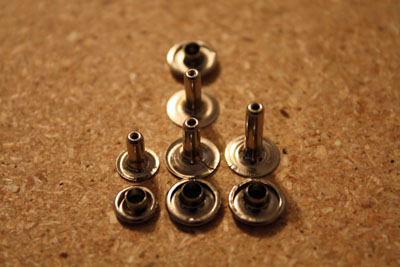
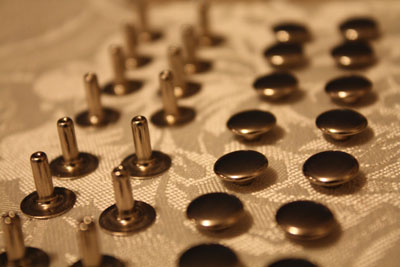
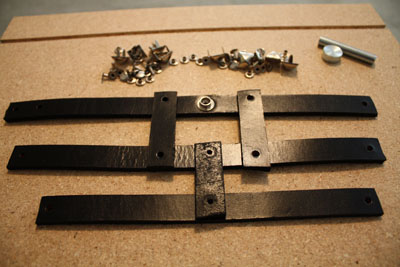
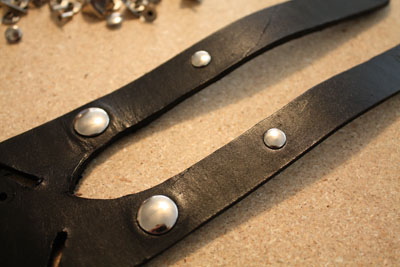
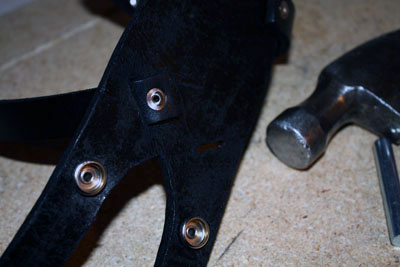
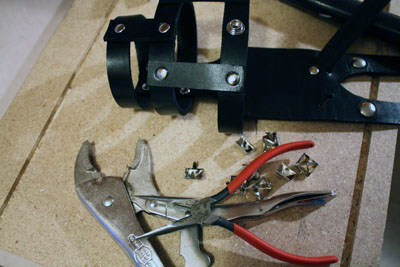
Left: Lower three posts and caps are the variety pack of quick rivets I was talking about before - Skullbeast's is a dead match to the middle one. I used the longer ones on the to the right of the photo.
Right: An angle shot, so you can see the post length difference a bit more.

ImageImage
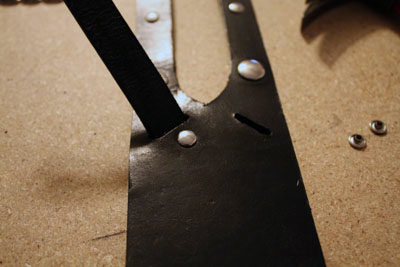
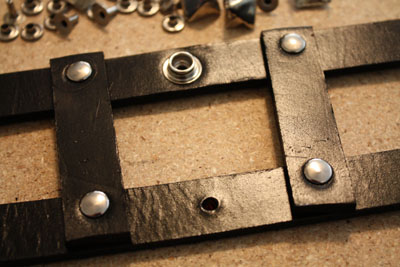
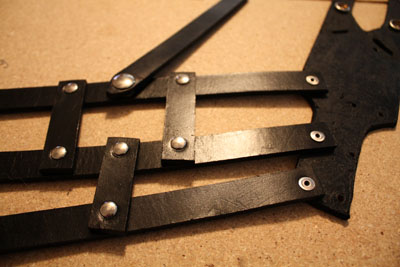
Left: POW! The rivet is in for the snap band.
Right: POW! x3. Just one more rivet to go.

ImageImage
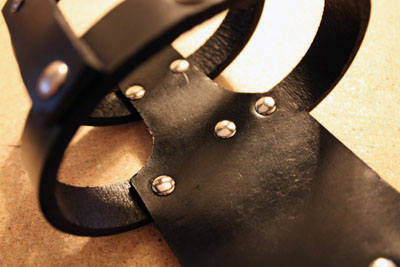
Left: POW! Last rivet is in place.
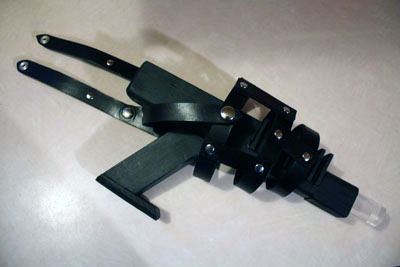
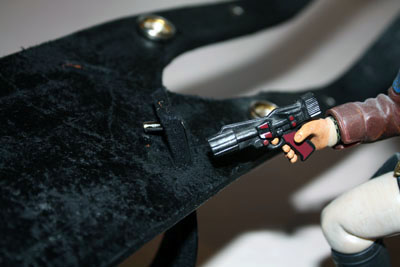
Right: BOO YA - the Holster and my most awesome pistol from my good Cylon pal, Sean - CYLON-AT-ARMS! :)

ImageImage
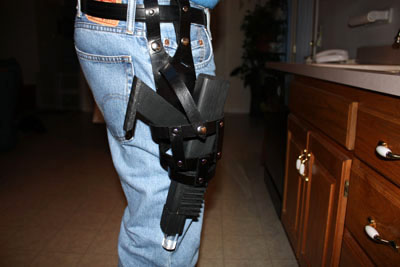
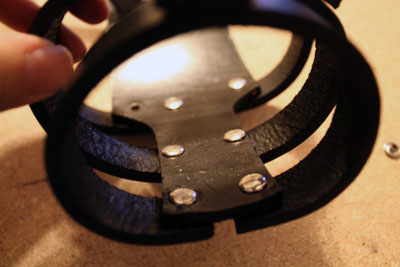
Left: Still have to do the diamond cap deals, but I couldn't wait to put the holster on. :twisted:
Right: Cylon-Knight is packing heat!

ImageImage
Left: What's that? You feel lucky, Punk?
Right: DRAW!

ImageImage
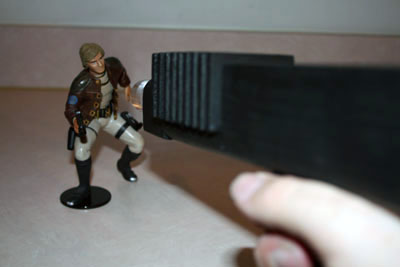
Left: EVIL COLONIAL! FIRE!
Right: Holy Frack!!! In trying to*ZAP* the lowly human he shot out one of my rivets!!! (it popped out) ARG!

ImageImage
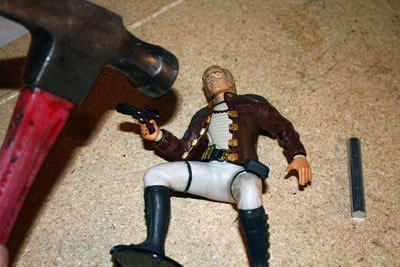
Left: Hammer, new rivet - POW! Back in action.
Right: Hammer, lowly human - POW! Out of action ;)

ImageImage
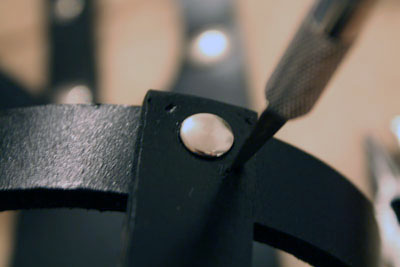
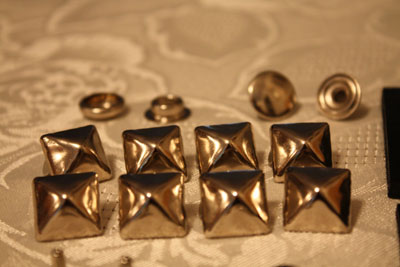
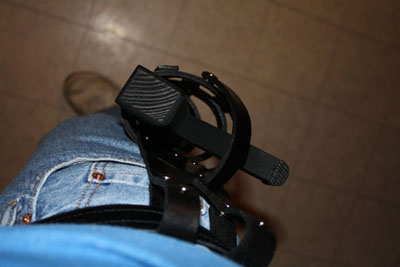
Left: Time for the diamond caps to go on. I thought some pliers/vice-grips would help stab them in. (WRONG)
Right. I found that it is best to with the diamond caps to poke some "here is where it goes" guide holes then with the trusty (but not cutting myself this time with it) X-ACTO knife cut the holes out. I think I'll go back later and pop them all off and put a HEALTHY AMOUNT of hot glue under them too, for some added STAY PUT-ness.

ImageImage
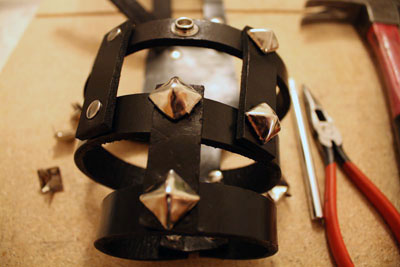
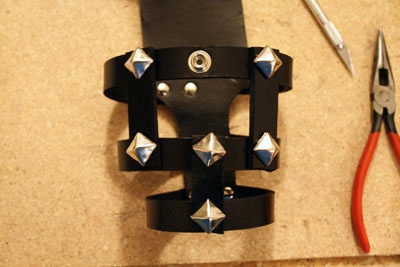
Left: Two more caps to go. Man, this was actually the hardest part of the kit was these caps. Note the one in the center of the photo, it was the first one I put it. Sorta bent the hell out of it... THANK YOU SKULLBEAST for a few spare parts. :D
Right: All the caps on - note I replaced the jacked up one in the center.

ImageImage
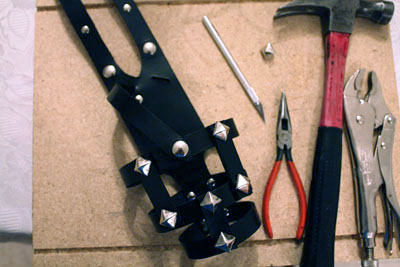
Left: Well, this is what I did for a good part of tonight *wipes brow*
Right: FRACK YEAH!

ImageImage
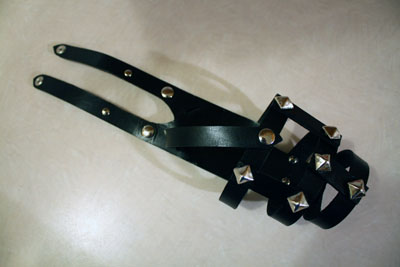
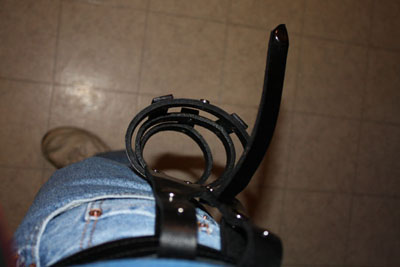
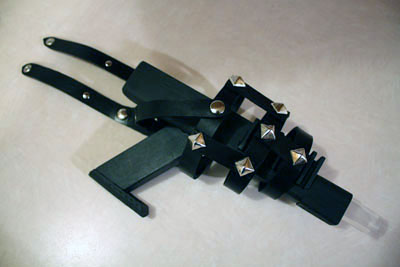
Left: Holster all open
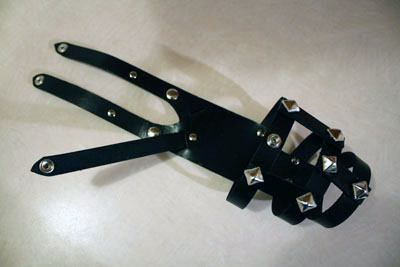
Right: Holster snapped shut

Image
Holster all snapped shut, as if it was on a belt.

COOL, HUH? The only thing left to say is... YOU should get one from Skullbeast too - it is Cylon-Knight Mind Approved!

Re: Building my Cylon-Knight

Posted: Mon Aug 01, 2011 9:35 am
by GoldCylon
Looking good, looks real good. Nice step by step also. Poor Starbuck.... :nah: