Page 14 of 29
Re: Building my Cylon-Knight
Posted: Fri May 14, 2010 7:11 pm
by sean
Awesome cool my cylon brother...
Re: Building my Cylon-Knight
Posted: Sat May 15, 2010 9:11 am
by Cylon-Knight
sean wrote:Awesome cool my cylon brother...
Thanks! Glad you like.
The rifle you made is perfect, a dream to work with to add the lights

Re: Building my Cylon-Knight
Posted: Mon May 17, 2010 2:24 pm
by Cy
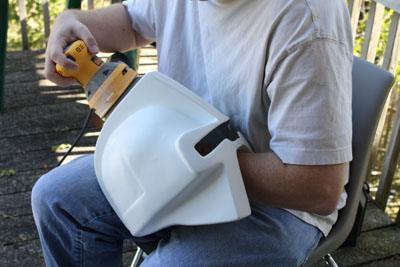
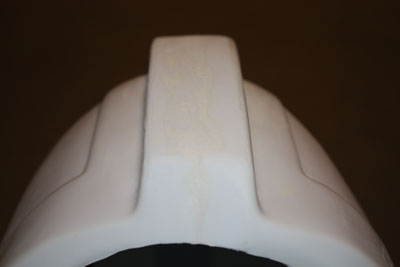
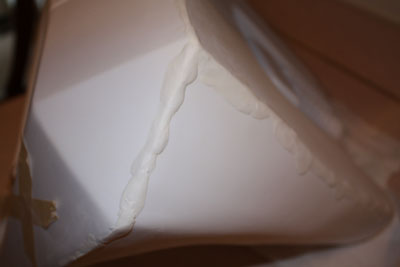
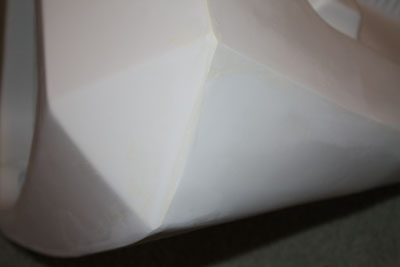
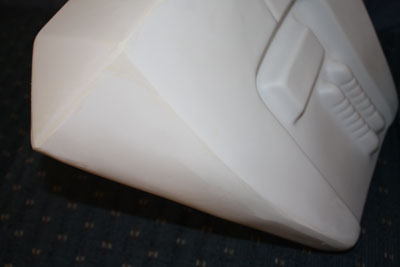
I was checking out your progress and the thought of filling and sanding came to mind. Just a technique I used to use for train modeling might work great for some seams. The process is quite simple and did yeild some great results. We used it mainly for filling holes and open voids, but if both halves are secured in place so ther is no movement of the 2 surfaces, the fill and bond can happen at the same time.To begin with, make sure the outside of the surfaces are smooth, ( no edge or bumps) Use plain old scotch tape to cover up the seam from the outside surface, the trick is to burmish the tape to the flat surfaces up to, but NOT past the edge of the seam. Then the back side of the object is filled\covered with epoxy. Watching from the outside as its applied, you can see if the epoxy is filling the whole crack at it hits the tape. Any bubbles will show up and a little mixing from the back side with a tooth pick will remove them.The epoxy will create a strong seam for the two halves, the tape will create the barrier so that the epoxy will flow the gap and create a seamless surface between the two halves. After the epoxy has set up, simply peel the tape off revealing the smooth surface. Most of the time you can go to primer with no clean up filling or sanding. If a little is needed cause you burmished the tape to close to the edge and actually rounded the edge, it can be filled with a touch of Squardren Green puddy, and sanded away. Really simple. To test this proceedure, drill a hole in a piece of plastic smaller than the tape and go wild. After just a few times of practice youll figure out what your doing or not doing wrong. The only thing you can do to scew up the process is stretching the tape or sticking the tape around the edge so the outer surface is not flat.
Re: Building my Cylon-Knight
Posted: Mon May 17, 2010 8:30 pm
by sean
Is that done with two part epoxy like in the double syringe?
Re: Building my Cylon-Knight
Posted: Fri May 21, 2010 4:51 pm
by Cy
Yes. The one I used was two tubes, but either works as long as its plastic compatible.
Re: Building my Cylon-Knight
Posted: Sun Nov 07, 2010 4:15 pm
by Cylon-Knight
Re: Building my Cylon-Knight
Posted: Sun Nov 07, 2010 4:22 pm
by GoldCylon
Looks great, and it looks like your just a few steps away from getting it chrome finished.
Re: Building my Cylon-Knight
Posted: Sun Nov 07, 2010 4:51 pm
by sean
Alright ! looking great. going to have a surprise coming to you soon so keep up the good work.....
Re: Building my Cylon-Knight
Posted: Mon Nov 08, 2010 1:09 pm
by Red Eye
Nice work!
Keep it coming, the Imperious Leader needs reinforcements!!!

Re: Building my Cylon-Knight
Posted: Sun Feb 27, 2011 11:45 pm
by Cylon-Knight
So today, I did do SOME Cylon work! w00t

-Got some pistol stuff figured out with my pal, the one and only Sean Cylon-At-Arms. He is working hard on so many cool projects - I'm thrilled that a pistol for me is one of them!
-Chatted with Group Leader Zeta - I have ordered one of his Cylon Eyes and it is *this close* to being on its way to me. SO EXCITED! I'll give a full review ASAP when it arrives.
FINALLY! My Cylon-Knight will have an evil eye.


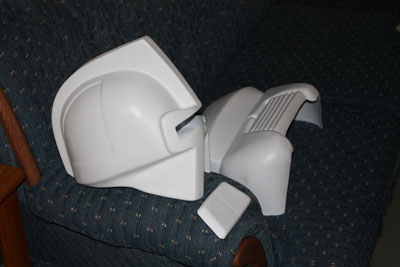
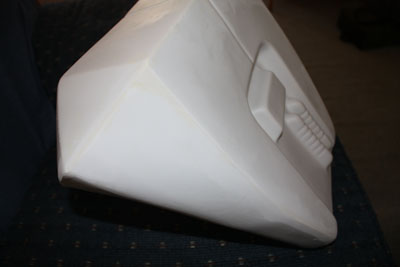
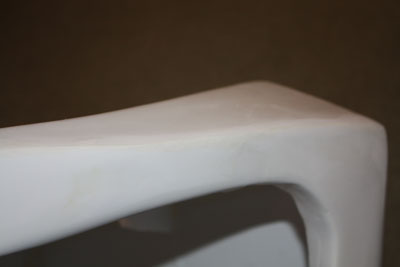
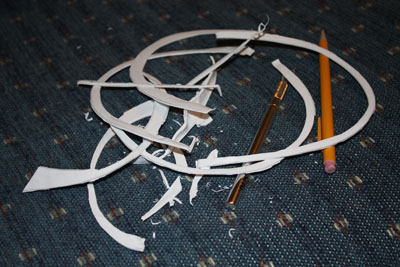
-AND I did some trim work on the most puzzling armor parts - the boot armor.
I reviewed Cylon photos from TOS and photos in the BYC.net gallery and cut bit by bit till I think I got them almost totally really to prep for chrome. Honestly I was thinking I'd glue/bond them into one part - even though originals are separate parts and use silver tape. However, after trying them on and off a few times I can see why they were left as a tape on item - sorta tricky. BUT my suit will not see the hard life a screen used one did getting shot up and stunt work, etc. etc. Hummm maybe I will bond them into solid parts. I'd hate for tape to maybe one day ruin the chrome finish.
After all that work Cylon Kitty and I chilled out and relaxed.
Trim... trim... trim.... messy Cylons
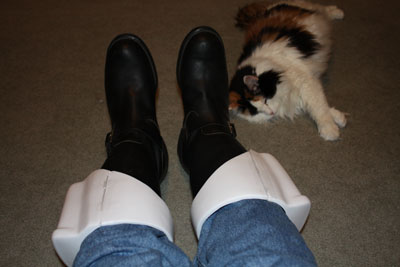
Cylon Kitty, is a good kitty.
Re: Building my Cylon-Knight
Posted: Mon Feb 28, 2011 11:39 am
by Red Eye
It's about time we've got an update here.
Good work again!
Re: Building my Cylon-Knight
Posted: Mon Feb 28, 2011 11:40 am
by Cy
Indeed! And its nice to see cylon kitty doing well also.
Re: Building my Cylon-Knight
Posted: Mon Feb 28, 2011 5:55 pm
by gremlin
Cylon Kitty....and twerp krueger... what more do we need.lol
great work
Re: Building my Cylon-Knight
Posted: Wed Mar 02, 2011 6:12 am
by sean
Keep up the wonderful work bro.... I can smell the human fear....hehehhe....zapzapzap!!!!
Re: Building my Cylon-Knight
Posted: Wed Mar 02, 2011 9:11 pm
by Cylon-Knight
OKAY CYLONS!
Massive News!
In the continuing epicness that is "Building my Cylon-Knight" I have THE most iconic part of the suit -
FINALLY - my red roving Cylon eye!
It is from our own, groupleaderzeta.

I was his first customer - and I'm proud to say that his product is 100% Cylon-Knight mind APPROVED.
The controller is hands down crazy with quality. I would expect to turn it over and see SONY on the back or somthing, Zeta is an excellent craftsman and electronics whiz - WOW.
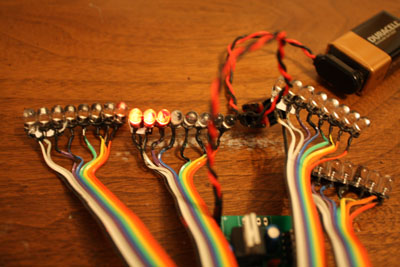
And, as I always say, SHOW ME PHOTOS OR IT DIDN'T HAPPEN! Here they are:
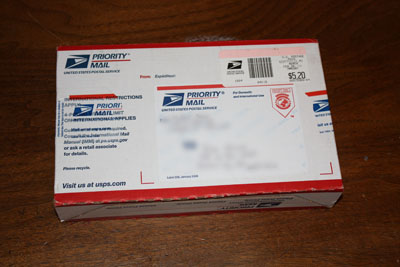
Left: YOU'VE GOT MAIL! Right: What's in this box???
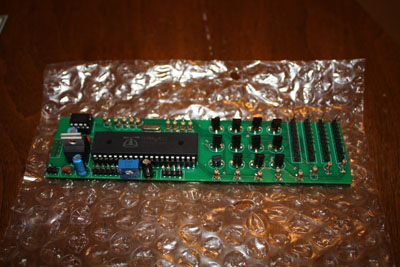
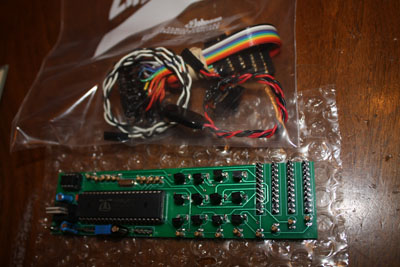
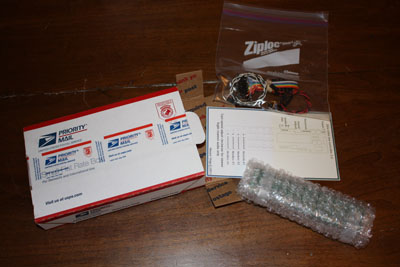
Left: The controller board. Right: All the bits
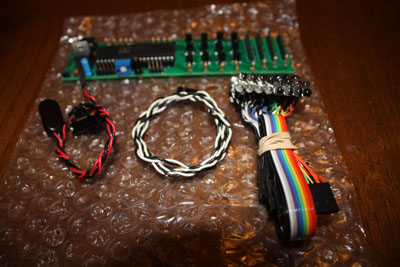
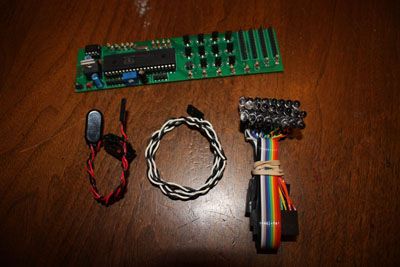
Left: All unpacked. Right: Okay all the stuff the board, switch, sound wires and the lights.
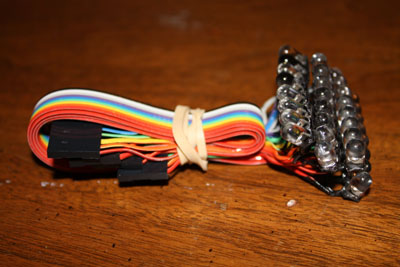
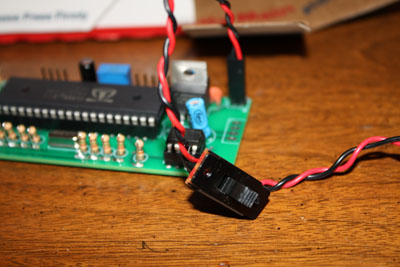
Left: Close up of the light packs. Right: Starting to put it together... the switch is now on. Full assembly took like 20 seconds. ROCK ON!
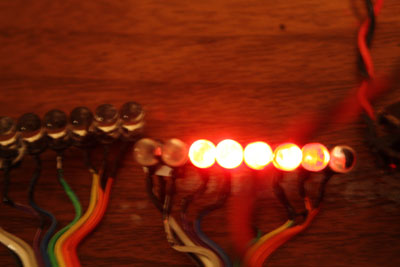
Left: GIVE MY CREATION LIFE!!! Power on, watch out Colonials and you goody-two-shoes over at Blackstar Squadron - one more Cylon can see you now!
Right: Super close up - of a moving target

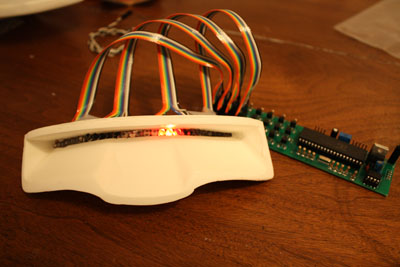
Here go - ROUGHLY installing it with just tape for now.
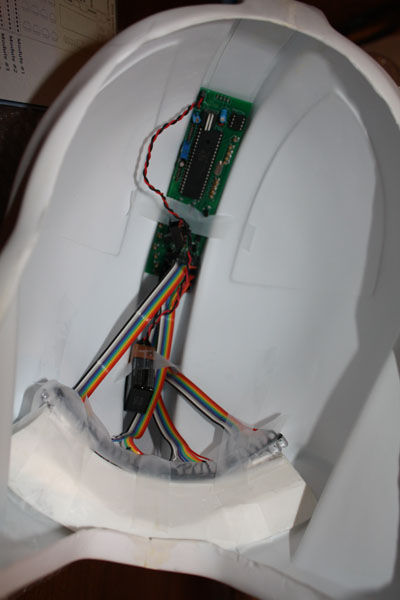
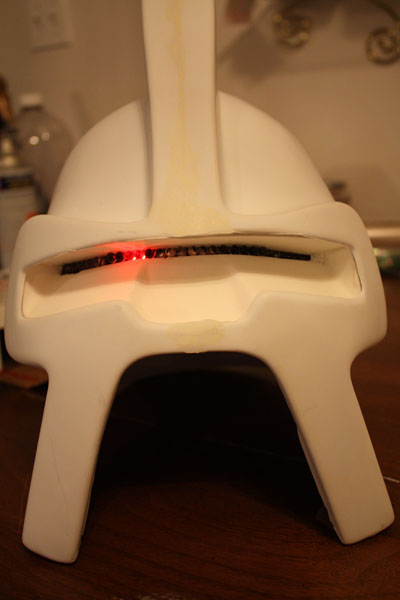
Left: Inside everything tucks into the mowhawk perfectly. Right: CYLON-KNIGHT!
So, in the end? I'm one step closer to having EVERYTHING I need for my build. And I am TOTALLY happy with my scanner. Too bad for you Cylons that just missed out on Zeta's sale... you could have gotten an awesomerest eye for less!
I plan to do a video of the eye in motion to post, need to get another camera back into action that takes little videos.