Page 13 of 29
Re: Building my Cylon-Knight
Posted: Wed Apr 07, 2010 2:54 pm
by Red Eye
Cylon-Knight wrote:Yeah, I'm not interested in that display one. I need to wear my helmet.
I was looking at the one that can be worn... just looking for some customer feedback before dropping all that cash on one - let me know what you thought nashslash.
This link might be helpful:
http://www.wegottafindearth.com/hyper%20review.htm
Re: Building my Cylon-Knight
Posted: Wed Apr 07, 2010 3:37 pm
by Cylon-Knight
AH!
Thank you Red Eye - you are the Cylon who is in THE KNOW!

Re: Building my Cylon-Knight
Posted: Thu Apr 08, 2010 12:51 am
by GoldCylon
Yes that is the standard scanner you can us in a helmet you want to wear, while I have the display model version that had random Cylon voice phases when it came on. It was a real neat scanner, but was made on offer I couldn't refuse to some guy in Australia.
Re: Building my Cylon-Knight
Posted: Sun Apr 11, 2010 3:52 pm
by Cy
Ya Im kinda confused about Nash's build. It looks awsome. IS that last step a liquid plasic he used for the diffuser?
Re: Building my Cylon-Knight
Posted: Sun Apr 11, 2010 9:04 pm
by Cylon-Knight
Cy wrote:Ya Im kinda confused about Nash's build. It looks awsome. IS that last step a liquid plasic he used for the diffuser?
No, he used
the plastic of a milk carton (not any liquid in the container). He cut a section out of the milk carton and put it over the scanner as a diffuser.
Re: Building my Cylon-Knight
Posted: Sun Apr 11, 2010 9:14 pm
by Cy
Ahhhhhhhhhhhhh. duh, makes sence now. Thank you sir.
Re: Building my Cylon-Knight
Posted: Sun Apr 11, 2010 9:24 pm
by Cylon-Knight
Cy wrote:Ahhhhhhhhhhhhh. duh, makes sence now. Thank you sir.
No prob. Sometimes low tech is best!
Happy to help share his creative solution.
Re: Building my Cylon-Knight
Posted: Mon May 10, 2010 1:30 pm
by Cylon-Knight
OKAY CYLONS! How do you all have your head screwed one?!? heehee... In other words, how is your helmet put together? Glue? Putty? Epoxy? Tape? Screen used/fan made, whatever... what's the 411?
I am about to put my helmet together. I am thinking I'll put a section of sheet plastic into the inside of the mowhawk with glue, then use putty. I think that extra support will be better in the end.
Re: Building my Cylon-Knight
Posted: Mon May 10, 2010 2:09 pm
by GoldCylon
A hot glue works good for a quick tack it together, and then if you want a seam in it firm up the inside, and leave it alone. If you want the seam gone then use one of the following. Quick cast resin, fiber glass, or Bondo. Use painters tape on the out side of the Mohawk, and then apply the balance of needed material on the inside if the seam in the helmet. Once dry remove the tape, and fill as needed. Detail it out and magic, your a Cylon.
Re: Building my Cylon-Knight
Posted: Mon May 10, 2010 4:09 pm
by Cylon-Knight
Had the day off and did some Cylon work...
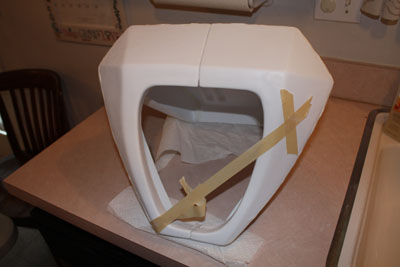
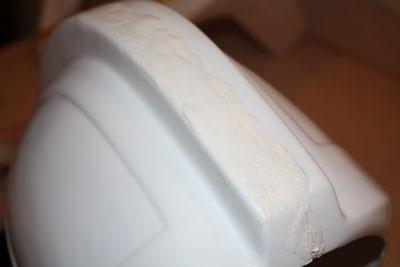
I started to put more putty on the outside of my back pack. That was going well... until...
Part of the inner putty broke loose and I had to do a quick re-work as the front right was busting loose. (Photo on right).
Another shot of the new putty. Going to be a bit of sanding, but that's as smooth as I could get it.
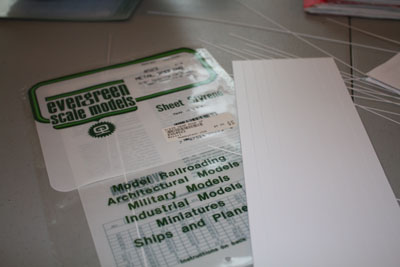
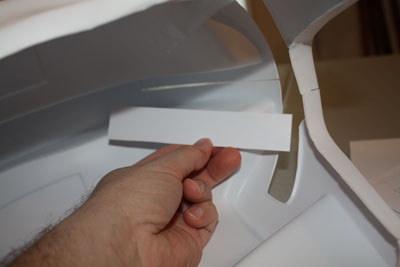
Now on to my helmet - time to get its assembly started. I have some sheet plastic. It is "metal roofing" for model railroad work.
But is a great for Cylon helmets
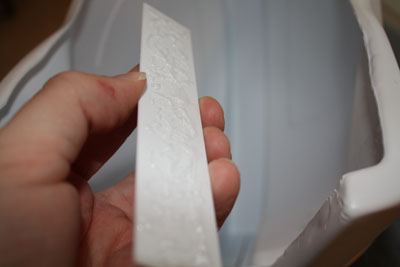
There are little pre-scorings and I just snap off a width (three) that fits best inside the mowhawk.
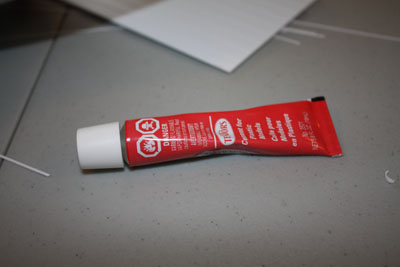
Grab the model glue and got started...
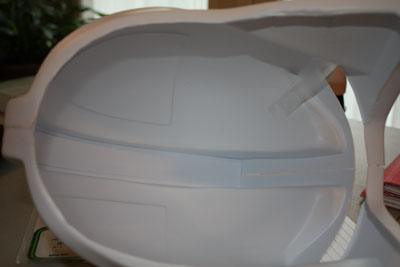
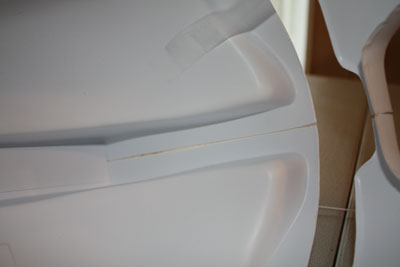
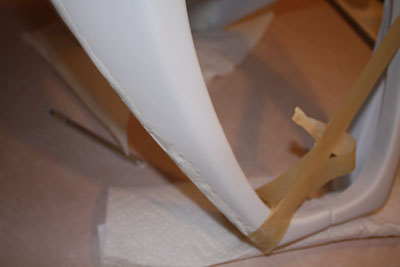
The first section of plastic went in with no problem. Pictured to the right is the next section to patch up.
Here is the second all glued up and going in (I didn't sniff the glue... too much

)
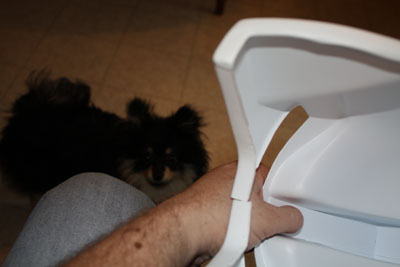
Left: Cylon Puppy is a big helper.
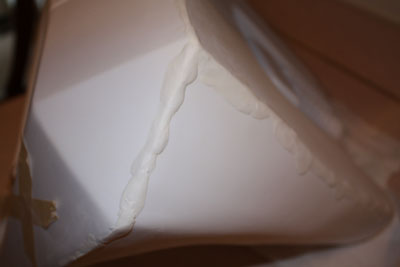
Right: All patched up. The helmet will have no trouble with strength now on the seam.

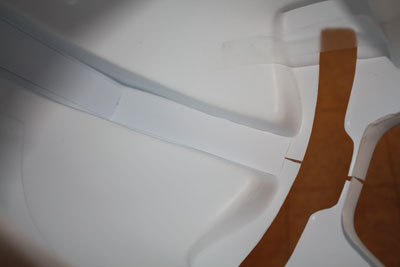
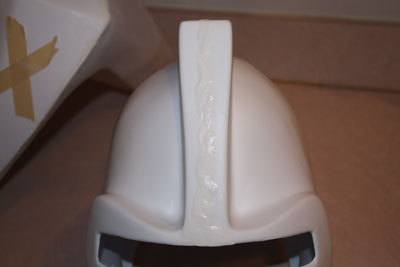
One last little bit to patch up at the back of the mowhawk. That went in no problems.
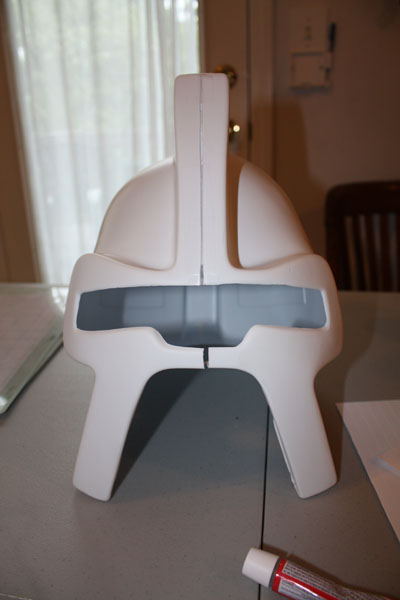
All together now!
...now it is time for a Cylon Nose Job...
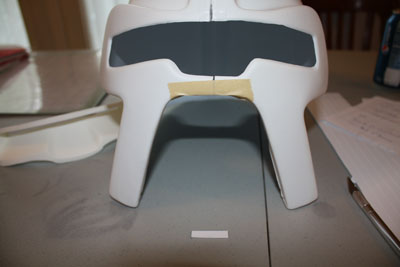
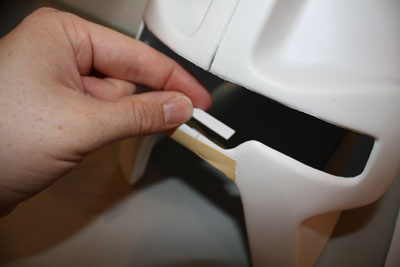
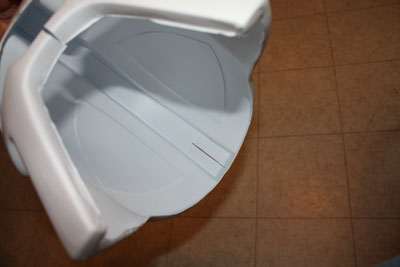
Left: Taped up the nose area to keep it in the shape I want it. And I cut a patch that will go inside.
Right: The patch about to go in - it rests on top of the flare that goes over the mouth grill. Just some more added strength. The other bit will be filled in with putty... no room for added plastic there due to the eye insert that holds the scanner.
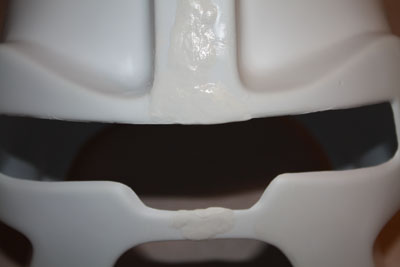
Everything is drying now... a few more hours to go yet. I plan on putting putty on the helmet yet tonight too. Then I can get some sanding supplies in the next day or so and start getting the putty sanded down.
Re: Building my Cylon-Knight
Posted: Mon May 10, 2010 4:19 pm
by GoldCylon
Looks good so far, but something you might want to check before you lock and load the helmet is the grill, and scanner bar if they fit correctly. Double checking now makes it an easy fit, compared to concreted together.
Re: Building my Cylon-Knight
Posted: Mon May 10, 2010 10:18 pm
by Cylon-Knight
GoldCylon wrote:Looks good so far, but something you might want to check before you lock and load the helmet is the grill, and scanner bar if they fit correctly. Double checking now makes it an easy fit, compared to concreted together.
Yeah, they both fit "okay" I tested that out. Nothing is 100% dead on with the fan kit, so I'll need some putty here and there, everywhere. But it is rocking along now.
Got the helmet putty in tonight - dang - works much better with HOT water
Now, everything has to dry. Got to buy some sand papers up to very crazy fine as GoldCylon taught us in "How to sand your Cylon Head in the Kitchen Sink 101 - video"
Oh, and some primer too.
Then I'll start to sand and see what sort of new mess I have. I am thinking it will take more putty again after the initial sanding. Crazy evil killer robot!!!
Re: Building my Cylon-Knight
Posted: Tue May 11, 2010 5:21 am
by Red Eye
Good work.
Nice to see another Centurion slowly coming together!

Re: Building my Cylon-Knight
Posted: Tue May 11, 2010 5:24 am
by GoldCylon
The ranks are expanding.
Re: Building my Cylon-Knight
Posted: Wed May 12, 2010 9:59 pm
by Cylon-Knight
I am honored to have a Cylon Rifle from Sean: Cylon-At-Arms!
It’s construction is detailed here for anyone reading along - this is where my totally amazing Cylon Rifle came from - *Bows down to Sean*
Thank you my friend!
And here is some update on the lighting for it...
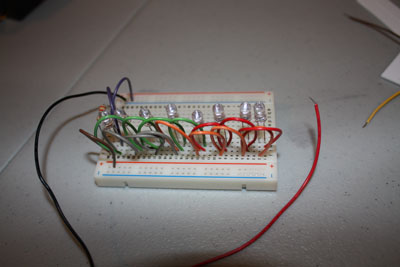

Left: All the parts in my bread board to prototype it. Very simple, but better safe than sorry
I am going for “all 8 lights on at once” for now... the sequence is too much for an electronics BEGINNER like me. That'll be version 2.0. For now this is still a good learning experience.
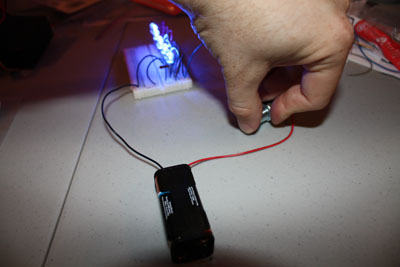
Right: POWER ON! *ZAP*

The LEDs are waaaaaaaay bright. The camera flash takes a bit away from them, trust me you can't look directly at them for even a second or you WILL be seeing spots. (How cool is that!? LOL)
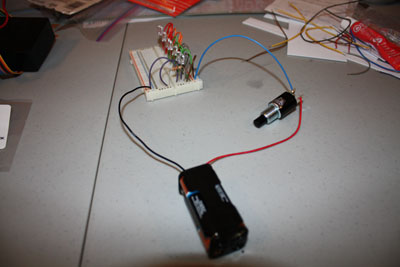
Left: Enter the switch... still just messing around with seeing how I'll get all the parts in working order.
Right: SWITCH ON! *ZAP*
Now, To ponder a rod or dowel of some sort to mount them on inside the barrel..... hummmm