HELLO CYLONS! Here is another update... and a tutorial

ENJOY
Backpack putty has begun! wheeee Thanks to my Cylon pal, nashslash for the suggestion for Milliput. Love it. (About $14 at Hobby Lobby) I can best describe it as "like Mighty Putty" - you cut a section of the two rolls of putty, mix them up like a ball of play dough and then mold it in place. Water smoothes it out and helps to shape it like clay. In three hours it is to be rock hard, sandable, drillable, paintable... and can accept chrome once primed as proved by nashslash's suit.
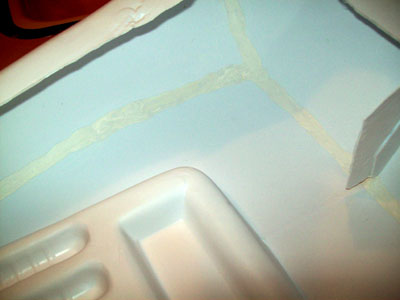
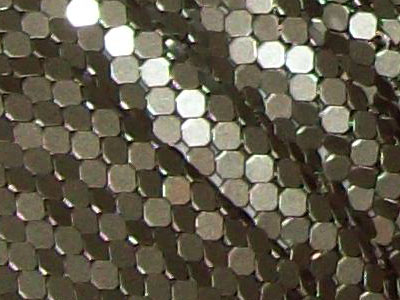
Here you can see the putty (just a little as it is white on white plastic! heehee). I got the white version of the putty. They have a yellow, gray and black described in the instructions.
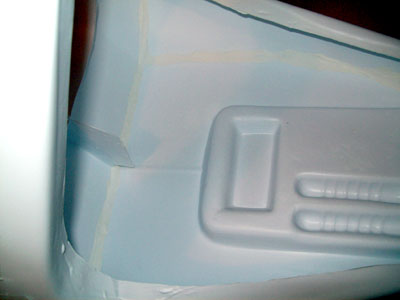
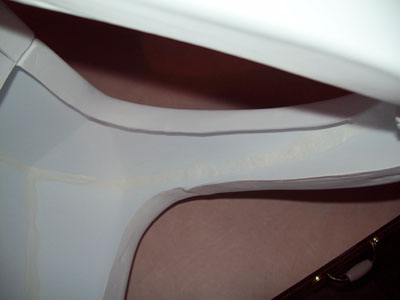
More seams - all covered up and starting to dry. Should be setup by midnight. Tomorrow I'll work on the outside of the backpack when I get the time.
_________________________
BACK TO THE GLOVES!
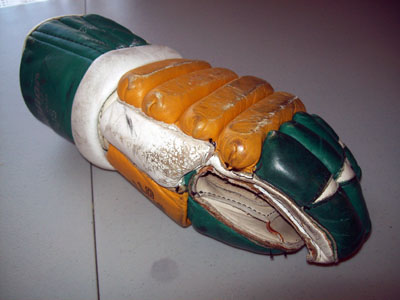
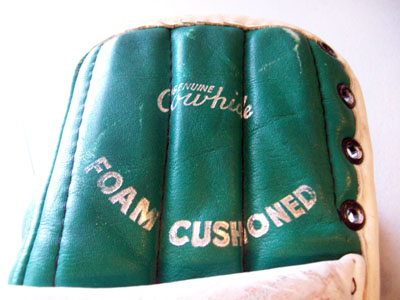
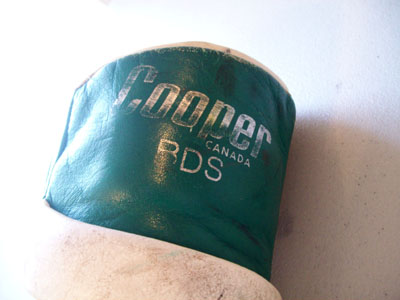
Time to get my left glove converted.
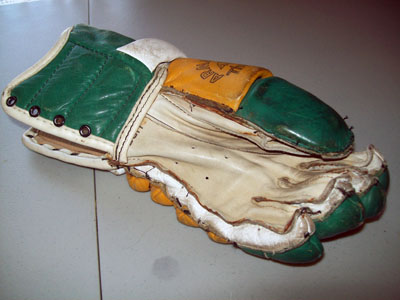
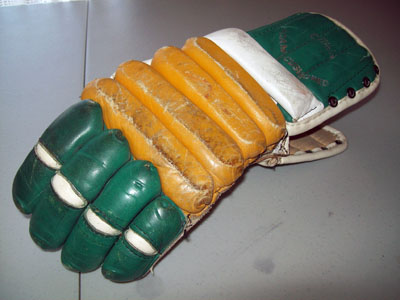
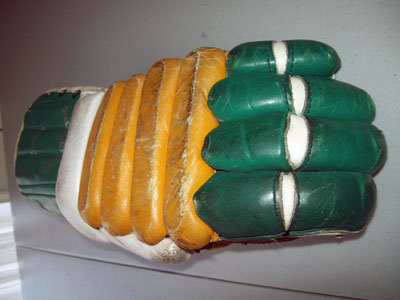
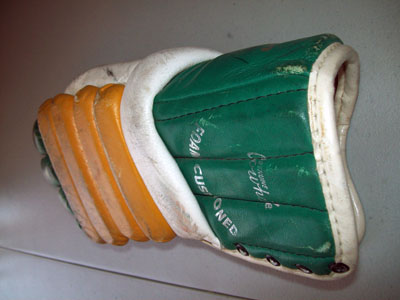
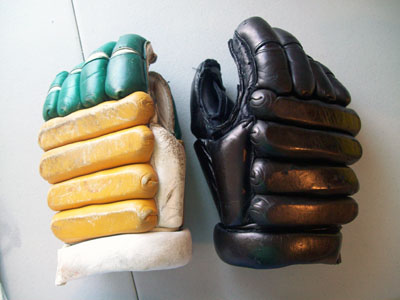
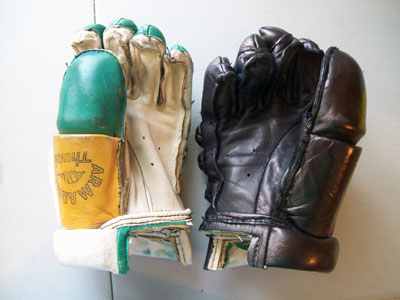
9 photos of the left glove "before" cutting.


_________________________
Here is my "how to convert a Cooper Glove into a Cylon hand" photo tutorial!
Items to note:
-Use SHARP tools, it will make the cutting SO much easier and everything go quicker
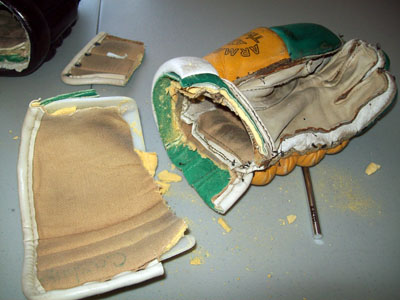
-The inner foam in original 1960s/70s Cooper gloves is no doubt a crumbly mess (as you'll see in my pictures). I stopped every so often in the process to shake out the crumbs. Have a trash can handy for a good shake every so often and you'll avoid A LOT of clean up later.
-Be careful with those sharp tools! Those (AND CYLON HANDS!) and dangerous

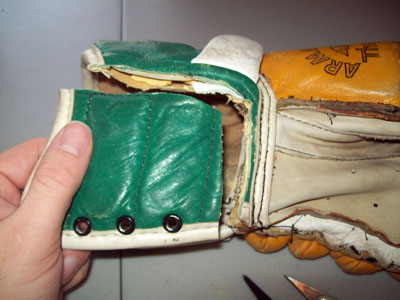
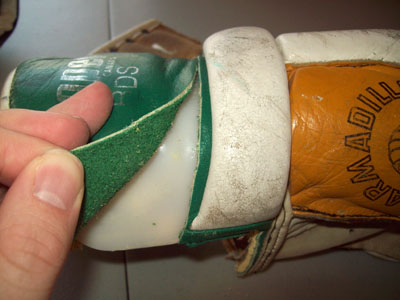
First cut on the open edge on the bottom of the cuff toward the thumb. Then cut 90 degrees toward the back of the glove and you'll get the shown section cut off. Also pictured are the tools I used. Some
SHARP scissors, and my trusty X-ACTO knife with a new
SHARP blade (Note: I didn't cut myself this time! *joy* I don't have the best history with my X-ACTO knife

)
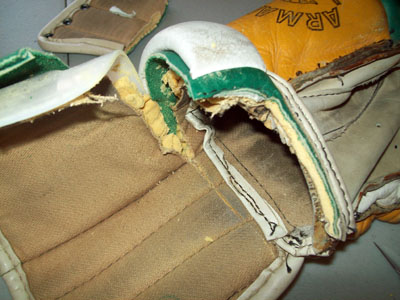
Now, move to the top of the cuff. And start to cut the leather as shown. Go all the way round the glove following the cut line as shown. There is a hard plastic insert in the cuff. You'll have to cut the top leather and then a matching cut on the inside lining (right photo).
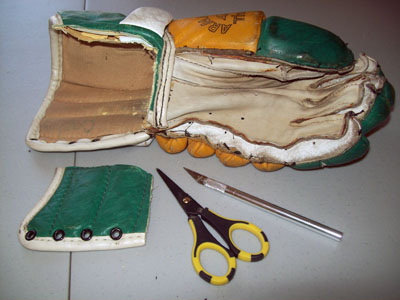
After the two cuts described above, you'll have the cuff totally removed from the glove.
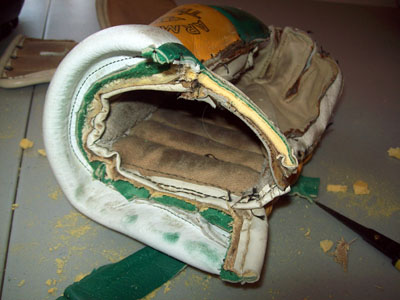
Then trim up inside a bit to get nice clean edges (photo on the right).
Congratulations! You are well on your way to getting your Cylon hands complete and being able to help with the final annihilation of the life form known as man! COOL huh!?

_________________________
Okay, I have the cutting out of the way. It is time to see how it looks and fits now. Then start to dye the left glove.
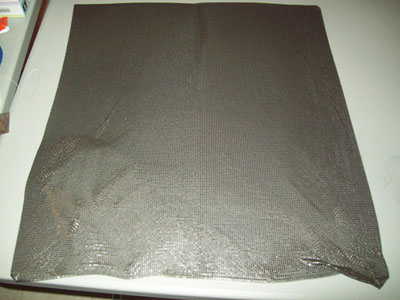
Here are the gloves. Left just cut, the right has had 3 or 4 good coats of dye at this point.
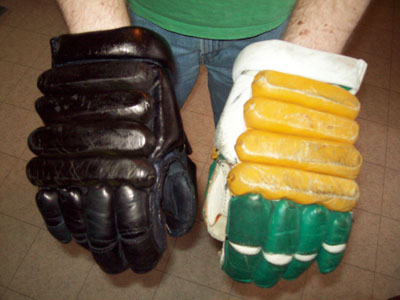
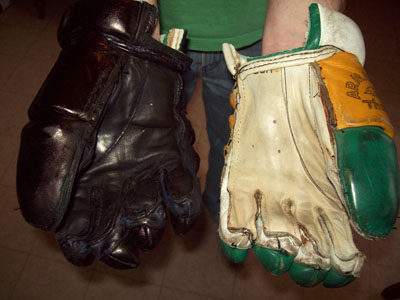
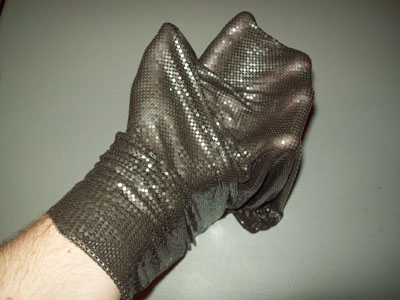
Wearing them in a "geek moment" (Thanks to my Cylon Wife for taking the photos - note - you can't take a photo while wearing hockey gloves!

LOL)
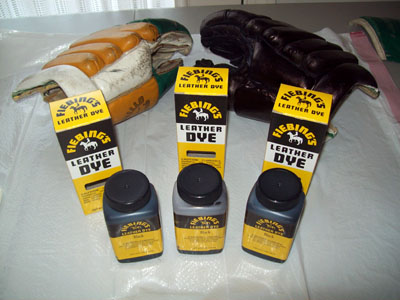
My two new bottle of Dye next to my first one (in the center - you can tell it is empty). You can get one full glove out of a bottle pretty much. However, good heavy coats and for any future touch ups, I got a third bottle to be safe. Also note the white trash bag "table cloth" I've added to my work area ... the leather dye is serious stuff and will stain your table (trust me

).
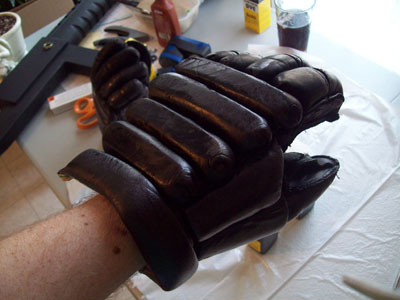
Right photo: Wearing the glove after the first coat. (I wear the glove while putting on the dye. If you do this expect dye to soak down onto your fingers / hand). Look, you can see the right glove in the background... AND... the coolest Cylon Rifle EVER too

I have it handy incase any Colonials happen buy *ZAP*
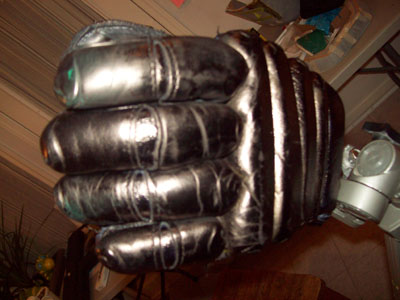
After the first round of dye. I put the glove on a tripod to let it dry. As you can see there are still a few spots to hit with the next coat of dye. The flash really shows the areas that need more attention... they are not as visible to the eye in normal room lighting. Thank you Mr. Flash!
So, now, I'm waiting for everything to dry.