Gutting the inside of a Krop helmet

Tips, tricks, inside secrets, help, sources, items used on making the Cylon Centurion suit to wear. Tell us your story, how you came about collecting your parts to a Centurion, or if you own a complete Centurion costume.
User avatar
MackUK
Phalanx Member
Posts: 86
Joined: Tue Nov 21, 2017 12:43 pm
Location: London, UK

Re: Gutting the inside of a Krop helmet

Post by MackUK » Tue Sep 11, 2018 12:41 pm

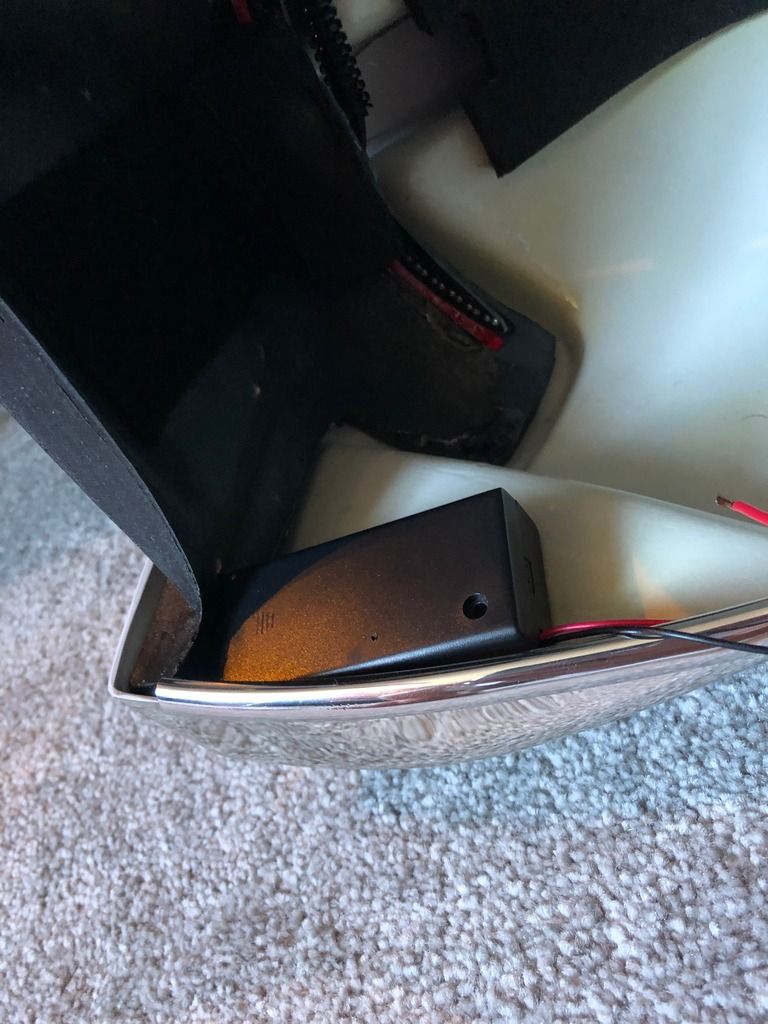
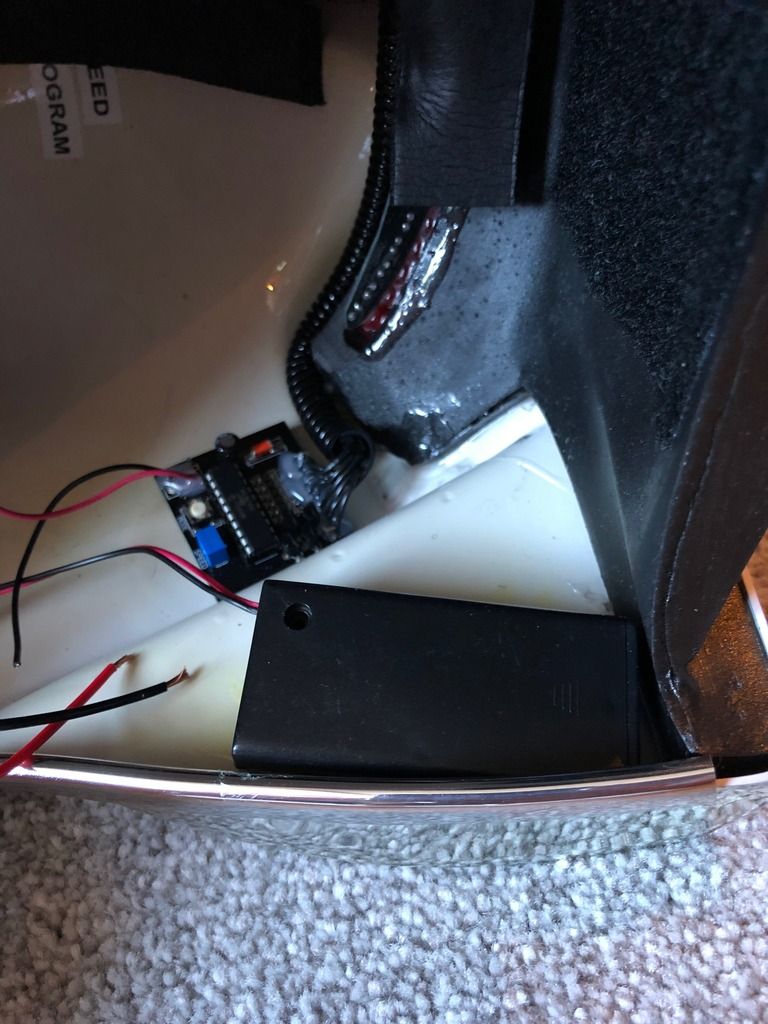
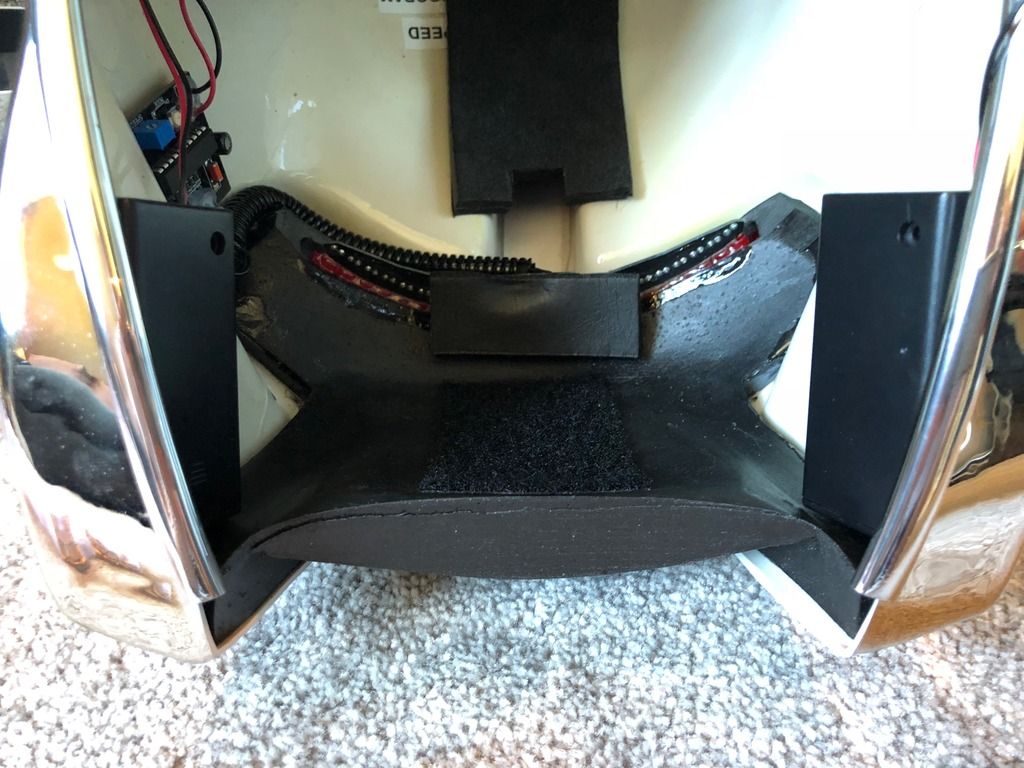
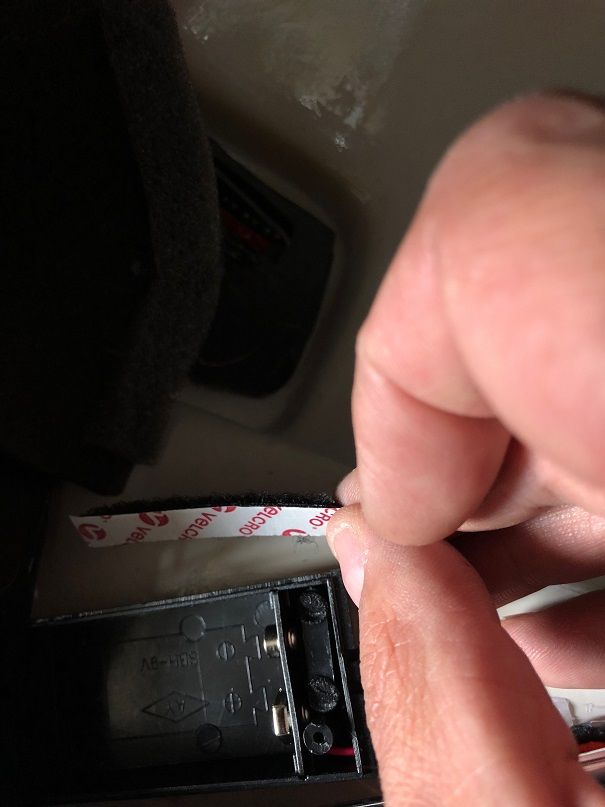
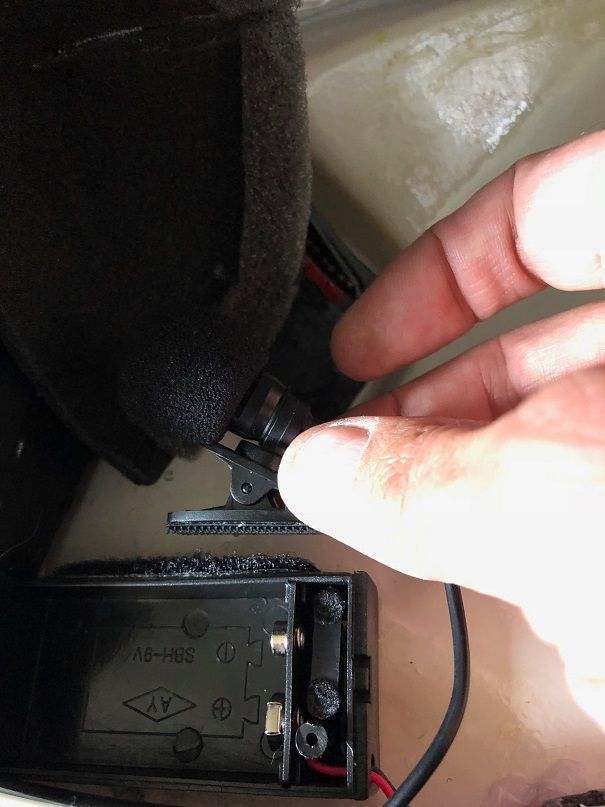
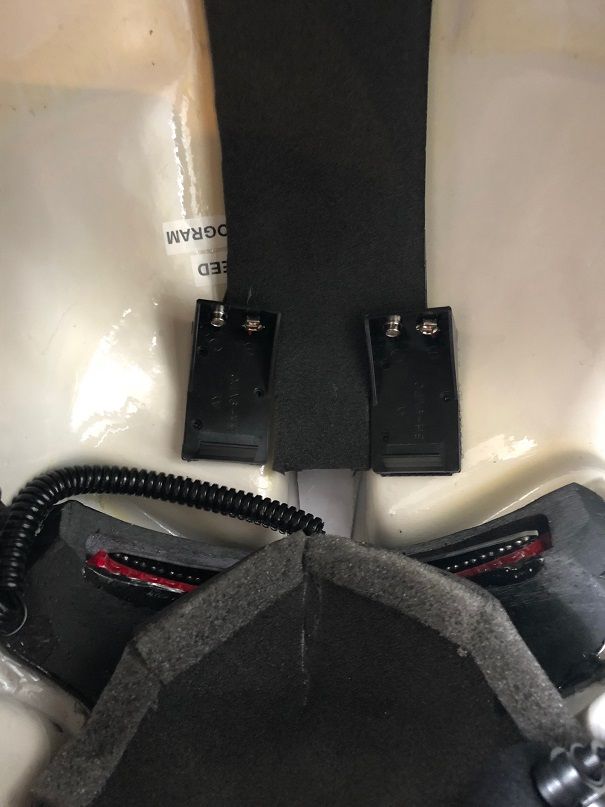
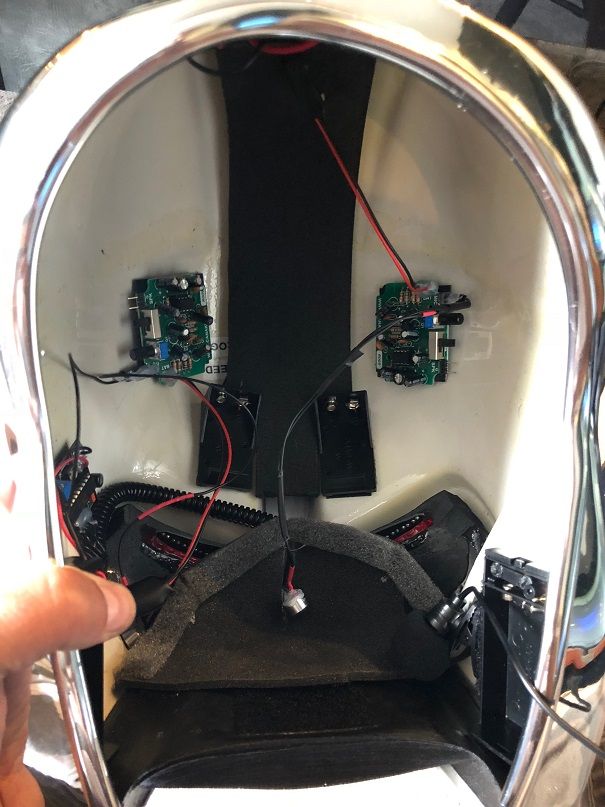
I then worked out the position of the PP3 battery packs in order to slide off the cover and hot glued them into place ensuring the wires on both units face rearwards...if you place them tight in the corner you won't be able to slide off the cover...

Image

Image

Image


User avatar
MackUK
Phalanx Member
Posts: 86
Joined: Tue Nov 21, 2017 12:43 pm
Location: London, UK

Re: Gutting the inside of a Krop helmet

Post by MackUK » Tue Sep 11, 2018 12:52 pm

Back to the Gauntlet...

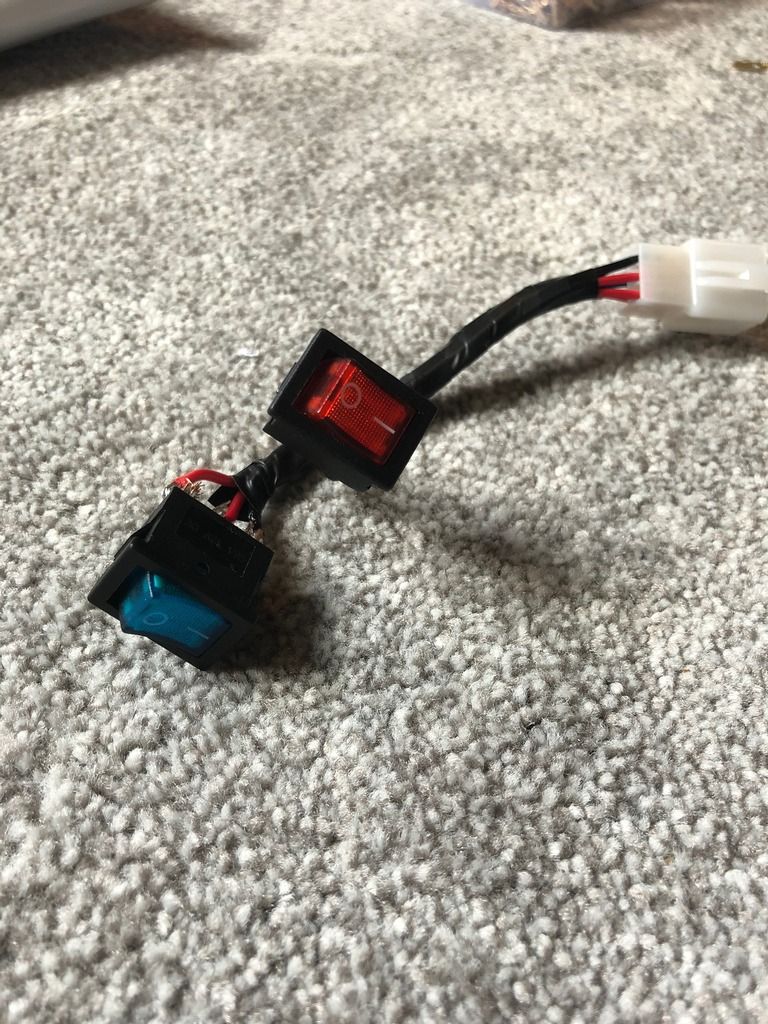
I soldered the necessary wires to their relevant switches and tidied the wiring loom...

You'll notice the two extra ground wires needed to feed back to the helmet battery packs in order to illuminate the switches on the gauntlet...

Image

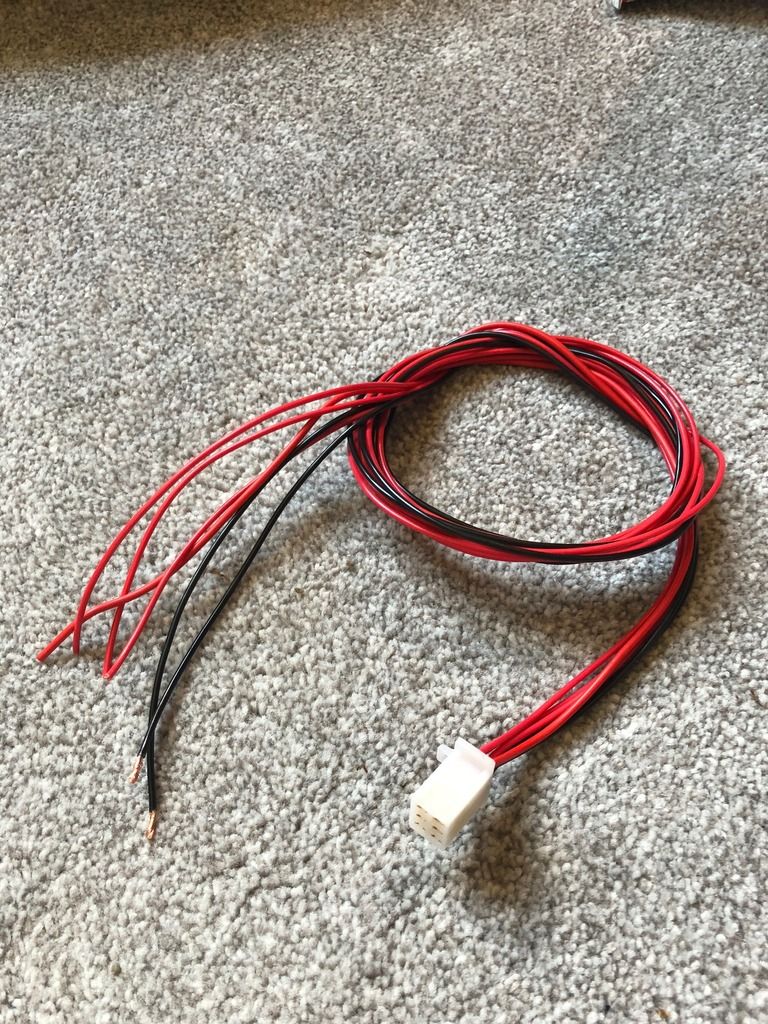
Remembering which wire does what, I then mirror imaged each connection on the loom that will travel inside the undersuit up my right arm, and then out of the collar into the helmet...

Image

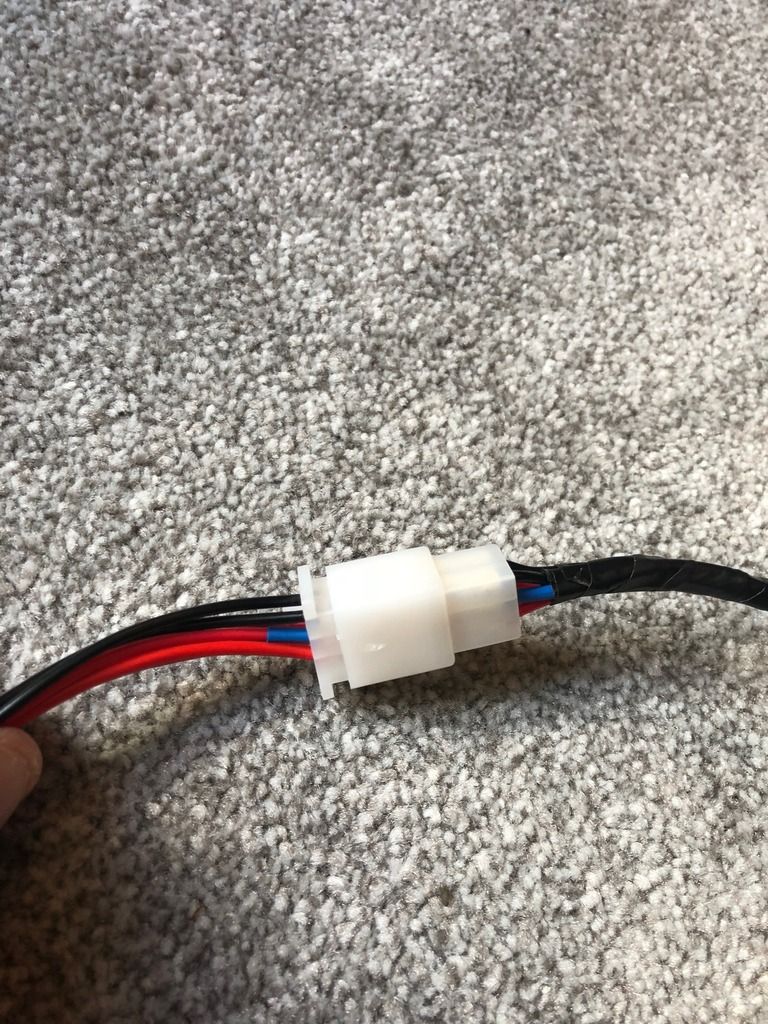
In this photo you'll see the blue band indicating that these wires feed the Fans... The plain red wire will do the eye.. (Blue for cool / Blue switch and red for eye / Red Switch)

Image

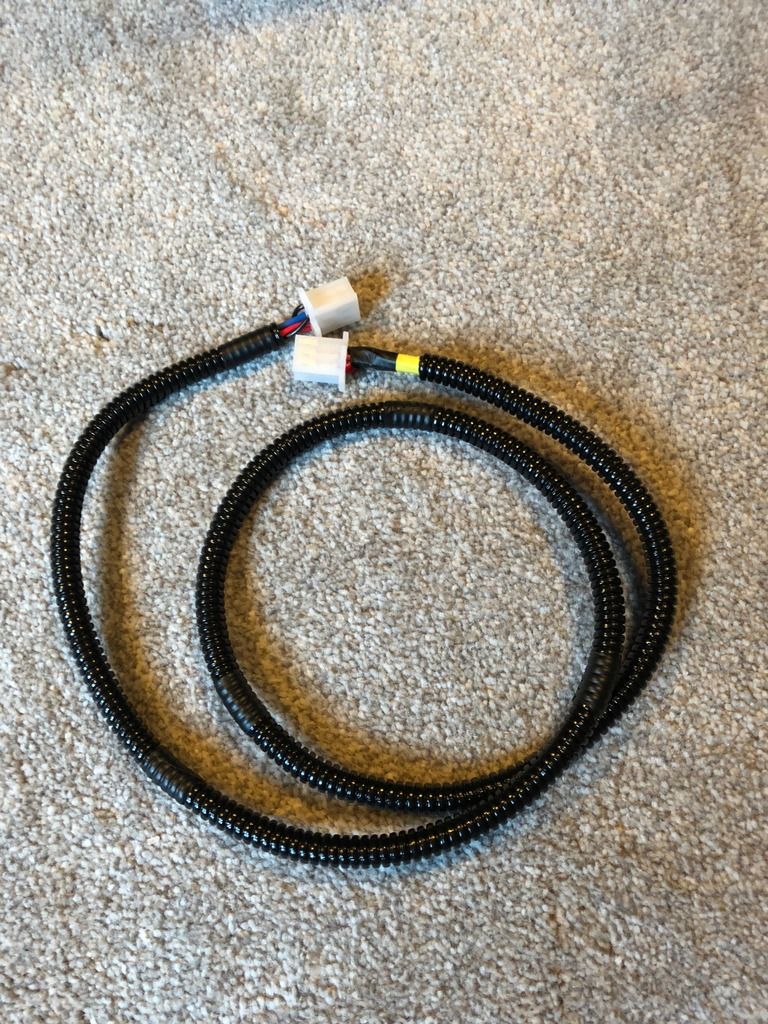
I then connected the wires in the connector at the other end, and tidied the whole loom up placing it inside the 5-6mm conduit.

The Yellow band indicates this is the connector to the gauntlet...

Image


More soon!

User avatar
MackUK
Phalanx Member
Posts: 86
Joined: Tue Nov 21, 2017 12:43 pm
Location: London, UK

Re: Gutting the inside of a Krop helmet

Post by MackUK » Tue Sep 11, 2018 1:45 pm

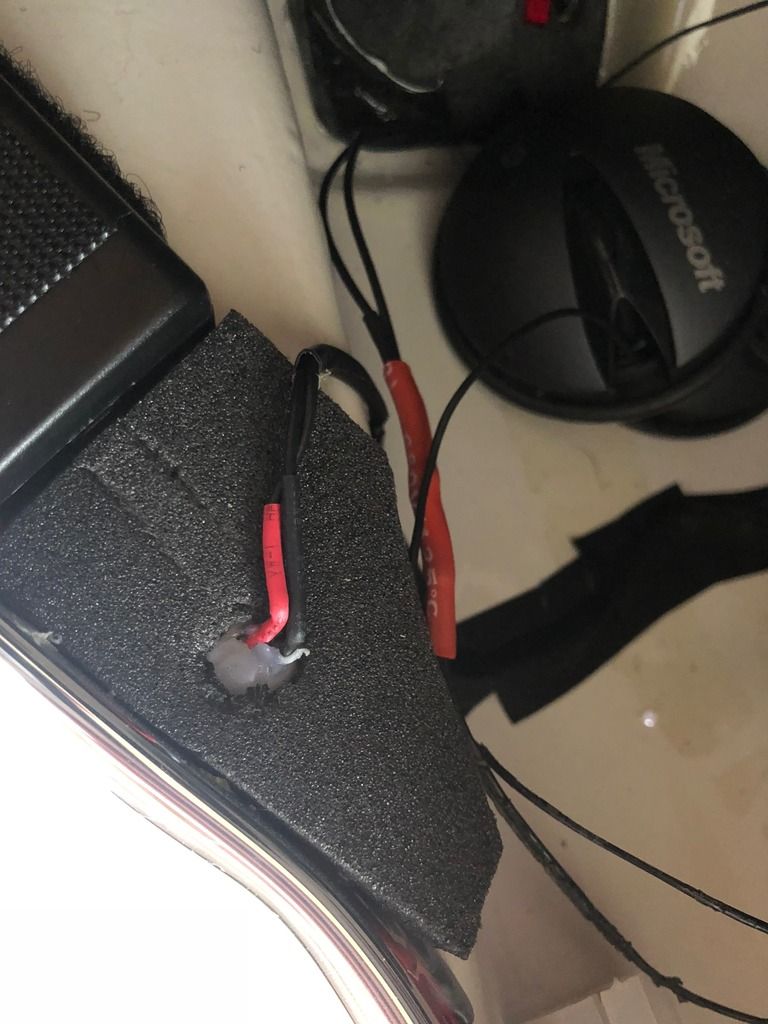
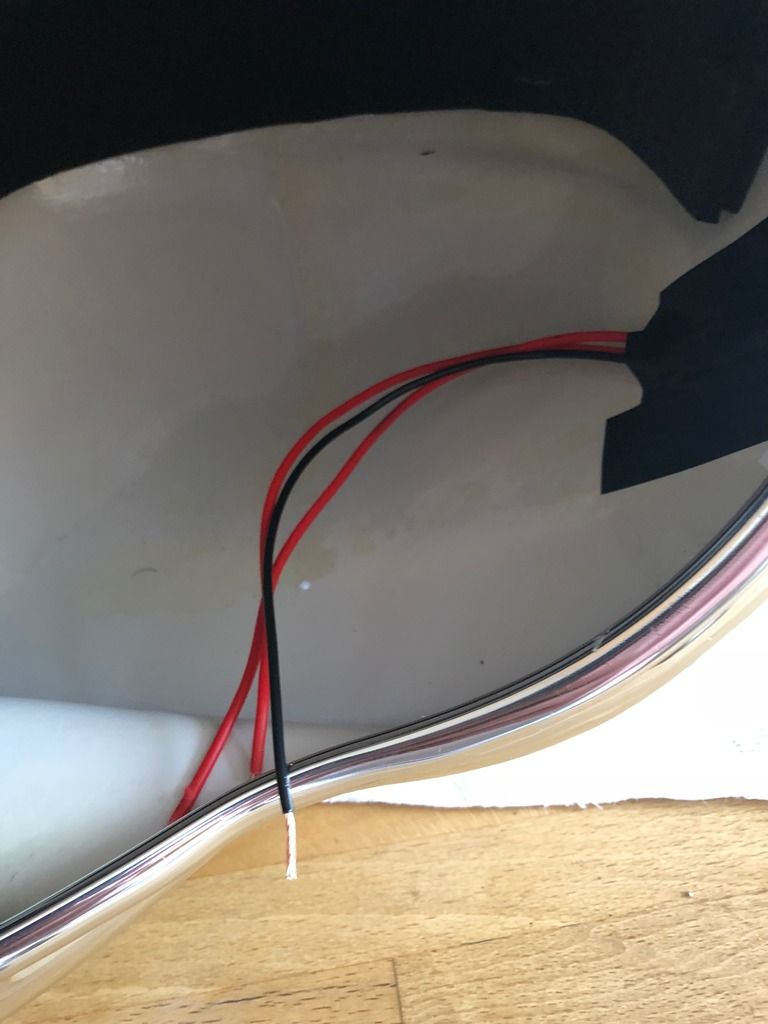
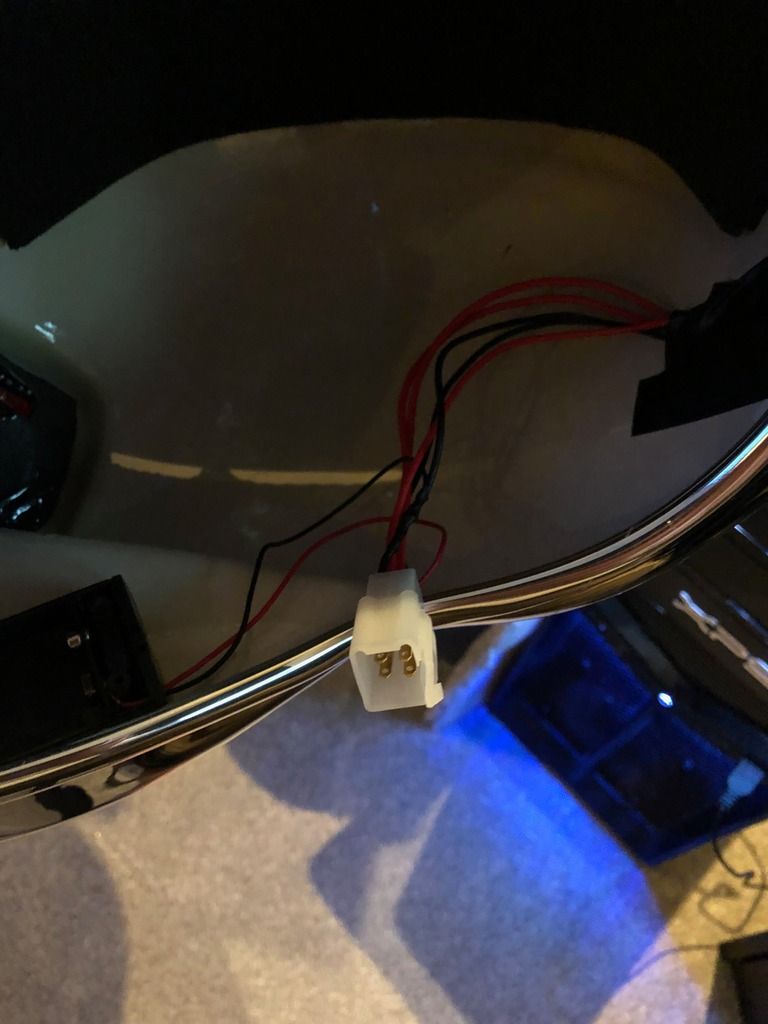
For the eye and fan, there are three wires... I've used the eye wiring as an example...

Black (Ground) which will be the (NEG) wire from the switch in the gauntlet. This will connect with this wire and the NEG wire from the eye, and connect directly to the (NEG Wire) on the battery pack..
RED Wires are (POS). One is the permanent feed (from the switch to the battery pack) and the other is the switched (POS) connection from the gauntlet. All wiring on the left hand side of the helmet needs to be long enough to reach the right hand side where the connection will take place...
(notice the hole for the Mics)

Image

So I have 3 (NEG) wires and 4(POS) wires.
In the helmet I soldered all the NEGS together.
I soldered the switched POS wire to the eye, and the permanent feed POS wire to the POS wire on the PP3 Pack. I then (roughly) tidied all the wiring up so it doesn't flop around in the helmet. this will be covered up by the padding.

I did exactly the same for the fan connections on the opposite side - which is the side the connection to the gauntlet is made, but these connections I hard wired directly in to the coupling itself. I also included the wiring for the eye, and voila... Plug, ready to go!

Image

I've tested the connections, and all works perfectly.

I'll tidy up the wiring loom ready for the next lot of photos soon!

User avatar
MackUK
Phalanx Member
Posts: 86
Joined: Tue Nov 21, 2017 12:43 pm
Location: London, UK

Re: Gutting the inside of a Krop helmet

Post by MackUK » Sat Sep 15, 2018 12:04 pm

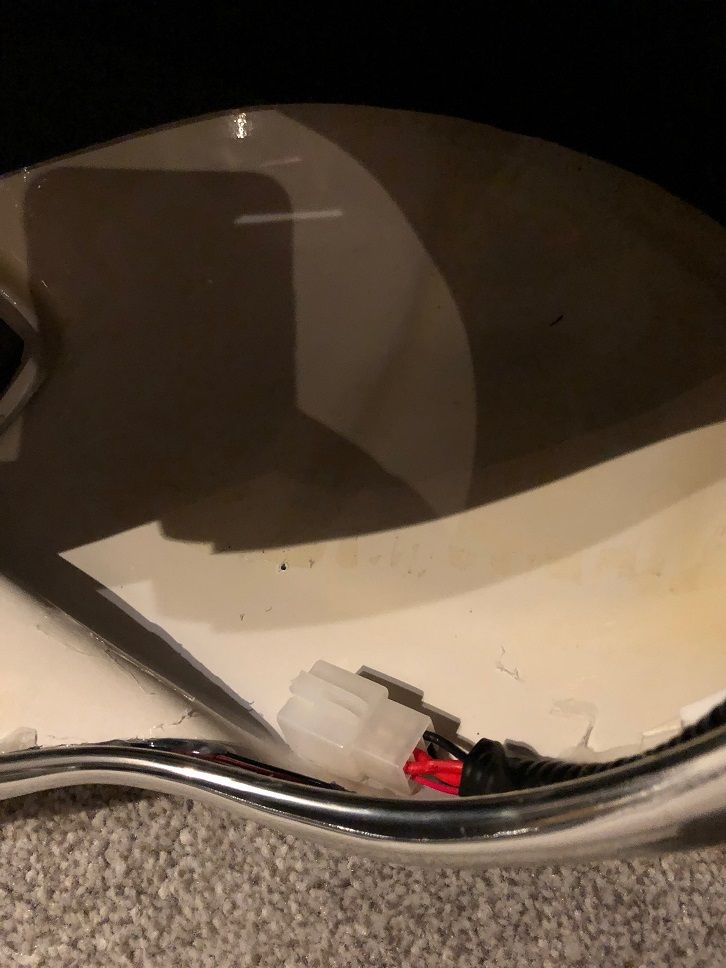
so I tied up the wiring loom in the helmet and Araldited the connect in a permanent location.
I also hot glued the wires to the plug, and snapped of the connection tag so I could easily remove the connection when putting on and taking off the helmet.

Image

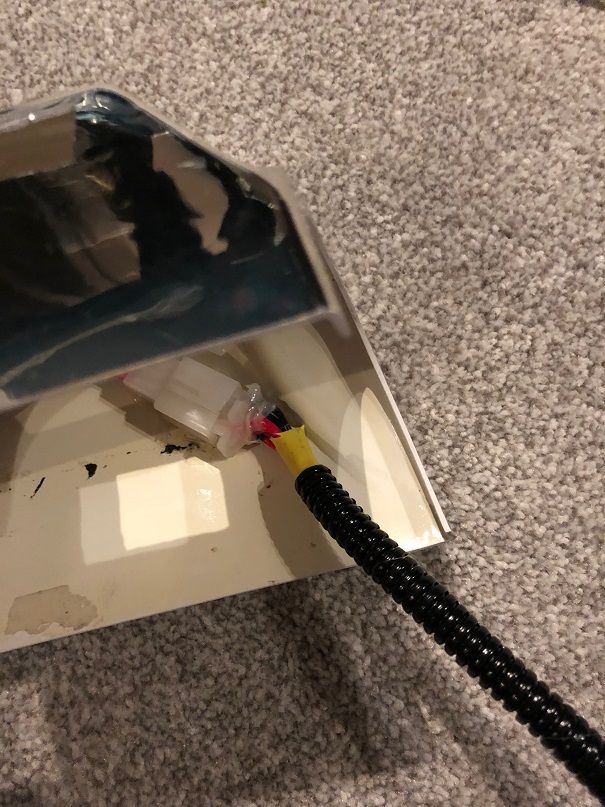
I also permanently stuck the Gauntlet connection in place, and again hot glued the wires and removed the lock clip...

Image

I tested the connection and functions of the units again, and all is good so far. The profile for the arm has not changed, and the padding will be slightly adjusted once complete. (more switches and the controller form MP3 player to go in still)

Image

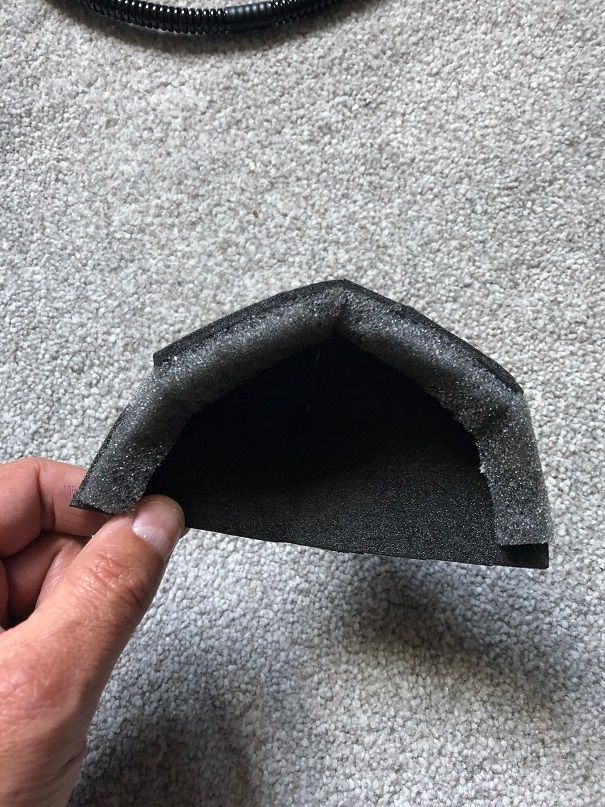
For the Mic, I decided to make a face mask to stop the air blowing from above on the Mic itself.

I got a piece of foam and made the necessary cuts and folds, glued them all into place;
You'll note also used some very soft foam or comfort and to stop air escaping upwards...

Image

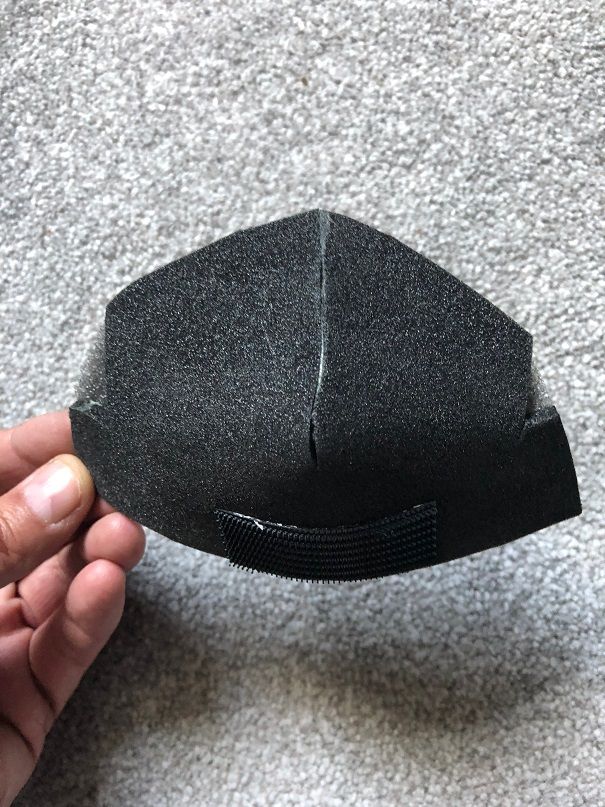
I then placed some Velcro to the lower part of the outer facemask to stick to the Velcro inside the helmet to attach the collar from the undersuit. and a couple of bits of Velcro to either side to keep things nice and tight.

Image

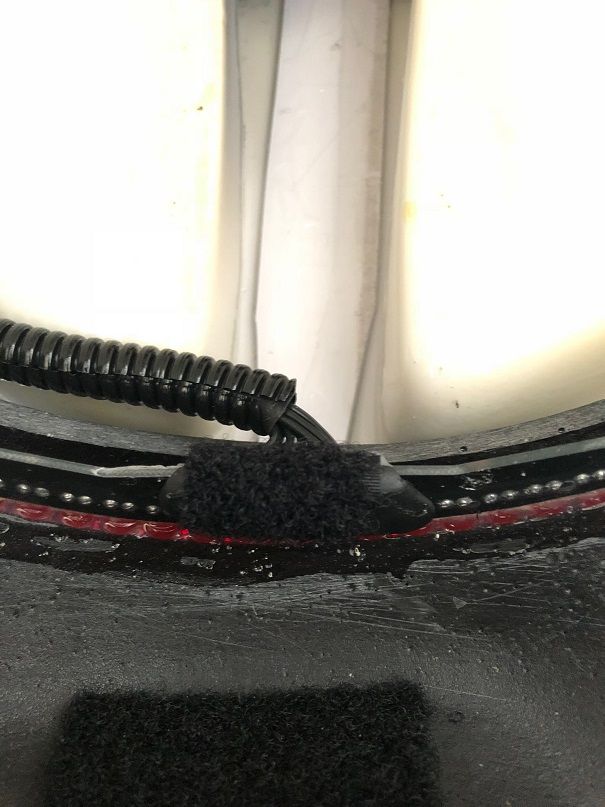
and a small piece of velcro to secure the top of the facemask in place of the nose sponge just under the middle of the eye.

Image

User avatar
MackUK
Phalanx Member
Posts: 86
Joined: Tue Nov 21, 2017 12:43 pm
Location: London, UK

Re: Gutting the inside of a Krop helmet

Post by MackUK » Sat Sep 15, 2018 12:16 pm

For the Mic position I used a long bit of Velcro and placed it on top of the battery pack on the right hand side...

Image

And did the same for the base of the Mic...I chose this position so I can adjust how far away it is from my mouth and find a sweet spot.

Image

I made an error on the pre-amps, as the volume just wasn't cutting it, so I order a couple from Canakit.com and with an included amp. This proved to me much better. Sadly they a lot bigger. but I can still find space for them.

In the following pictures I needed to place more battery holders to power each amp board and then used the dead space either side of my head and placed the amp boards there... I'll also be changing the location of the mics to a much better place.

Image


Things are starting to look busy :evillaugh:

Image

And made sure all the necessary wiring was hooked up (No speakers yet)

Image

I'll be doing the mic and speakers tomorrow.

More soon

User avatar
Cylon-Knight
Site Administrator
Posts: 6418
Joined: Wed Jul 23, 2008 9:32 pm
Location: Kansas City
Contact:

Re: Gutting the inside of a Krop helmet

Post by Cylon-Knight » Sun Sep 16, 2018 11:05 am

Looks GREAT! You are really going all out. I love it.
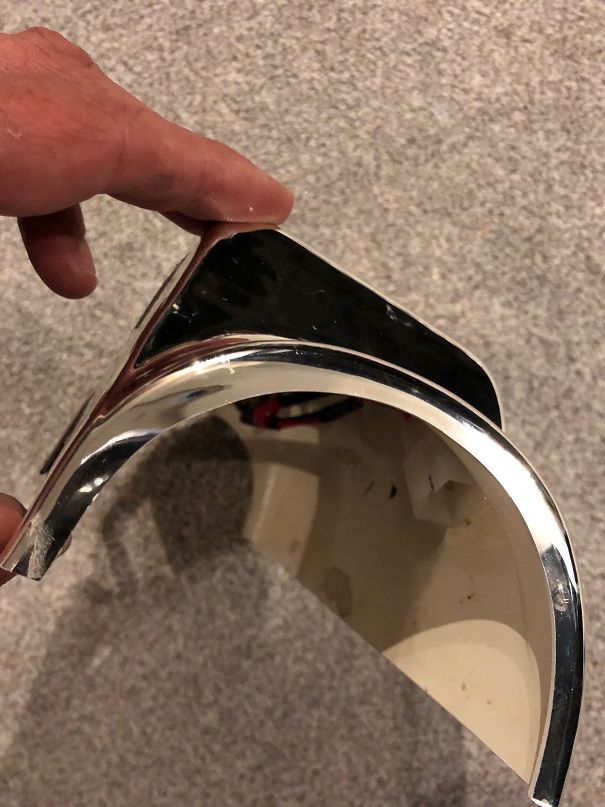
I noticed the chrome edge on the bottom of the helmet. Did you add that too, or did it come from Krop?
"All Baseships are now in range to attack the Colonies."
Image

User avatar
MackUK
Phalanx Member
Posts: 86
Joined: Tue Nov 21, 2017 12:43 pm
Location: London, UK

Re: Gutting the inside of a Krop helmet

Post by MackUK » Sun Sep 16, 2018 4:15 pm

It came with the crop. I was surprised how flexible it is. So I've also used it on the edges of the gauntles and the edges of the backpack as well.

Although I did order another one (back pack) from C.O.R.A as I want to get as near as screen used as possible.

I'll save up until Christmas, and I've already pre warned C.O.R.A that my next Centurion will be a commander!! Can't wait for that one!

User avatar
MackUK
Phalanx Member
Posts: 86
Joined: Tue Nov 21, 2017 12:43 pm
Location: London, UK

Re: Gutting the inside of a Krop helmet

Post by MackUK » Sun Sep 16, 2018 4:38 pm

So, because the amp boards are considerably larger than I hoped, I found a couple of old metal cases laying around in the garage that covers the boards perfectly... 4 x 6 x 2 cm
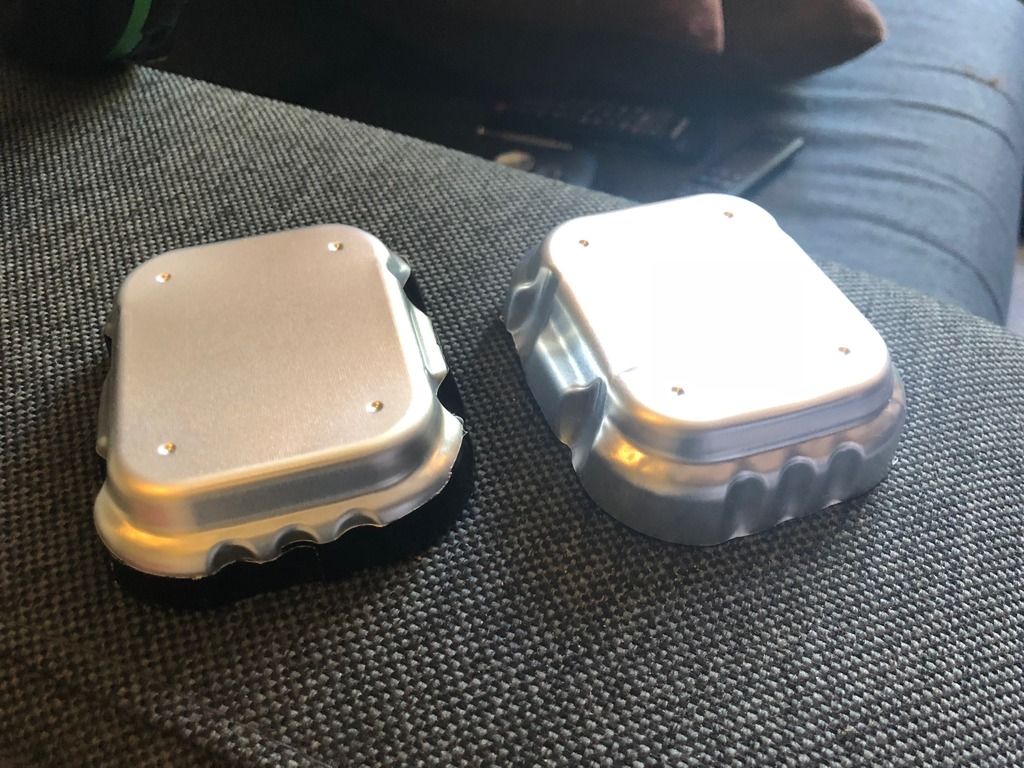
Image

as you can see although they look pretty rubbish where they are, and with loads of wires now secured, when I have the acoustic padding in there, I'm hoping this will look a lot tidier...

Incidentally, the two battery pack are wired in parallel, (+ and +) and (- with -) to give more amps/ph. I'm waiting for a voltage meter (flat LED about 2 cm in size, where I'm placing inside on the mouth guard. Also on the inside of the mouth guard I'm placing a switch, so when I switch on , it'll give me an indication how the batteries are doing.

The red wire you can see at the bottom of the picture below is ready for voltage meter and switch when they arrive from ebay!
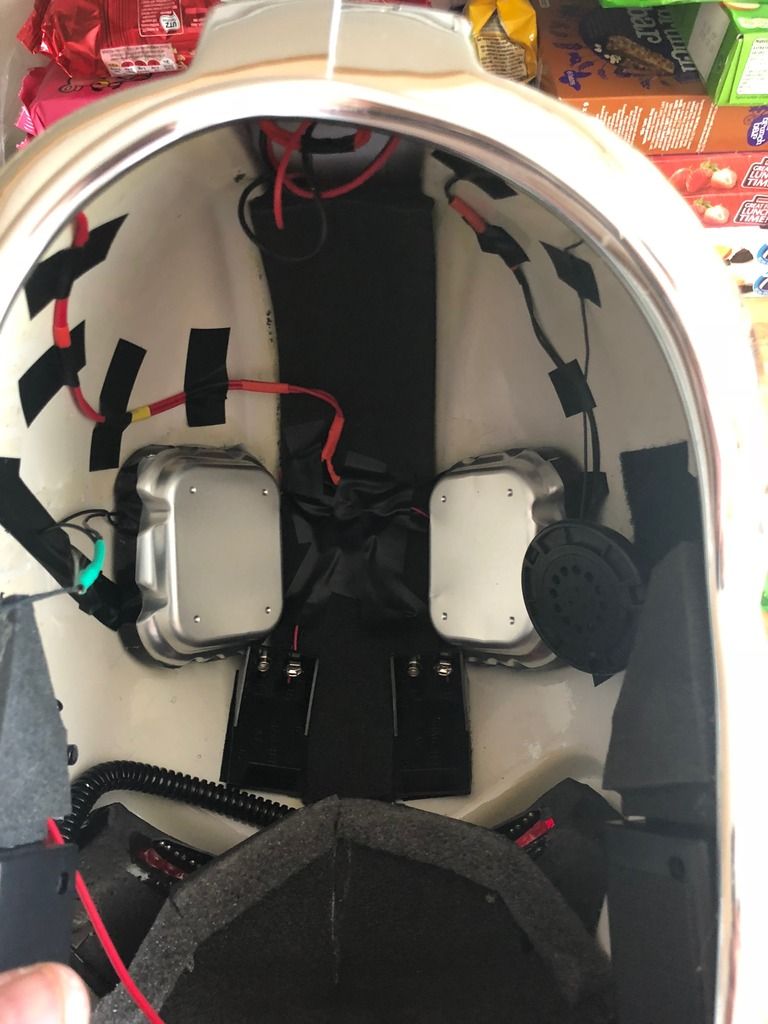
Image

As I mentioned before I'm looking at placing the mics in a different place and where I was originally fitting them, well, the earphones are going there and the feedback would be too much, and I'd likely get a little noise from the scanner.mp3.

So.. I found the perfect spot. I've placed the Mics on the lower part of the cheek in the back corner. Why?

Well, it's pointing upwards by a few degrees, and I'd get no feed back from the Roland VT-3 or the Scanner.mp3 so this kind of made perfect sense.

Also rather then drilling 1 mm hole for the mics, (the mics on the newer amps are bigger) I drill a hole 1 mm Larger than the new mics and used 3 layers of foam board with holes for the mics to sit in, and another last layer to hide the wires and keep everything secure.
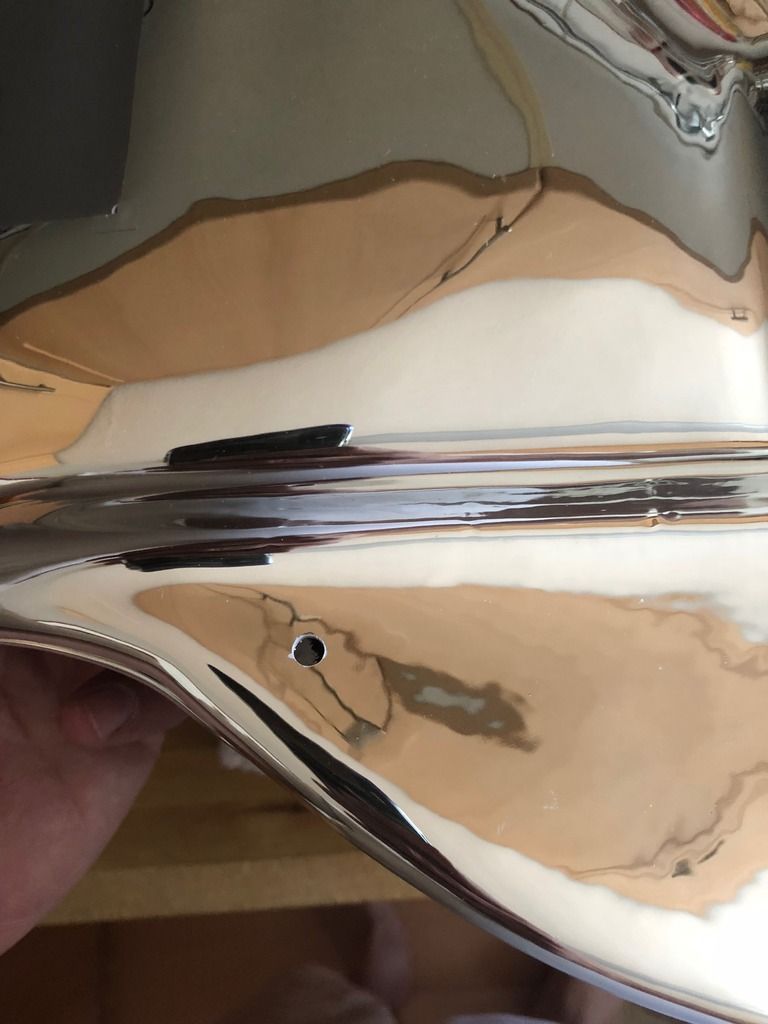
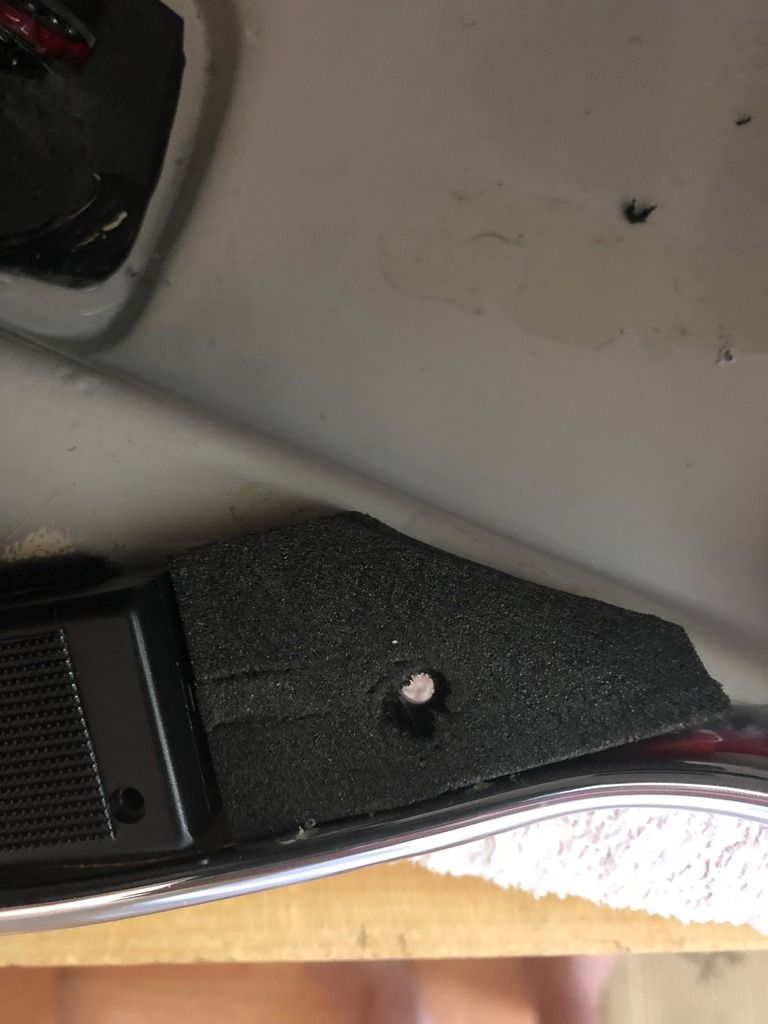
Image

Image

Image


The newly drilled hole will be covered by mylar chrome tape which actually doesn't hinder the mic pickup much.

So then, with the battery packs in place, the amp boards secured, and wires buckled down, speakers wired in to the amp boards, amp board covers in place it's time to work on the speakers.

Image

I salvaged my old Microsoft speakers which sound pretty good with the diffuser on so I got to work destroying them! :evillaugh:

Using the Mic process,I layered 4 model foam cut outs with a hole just smaller then the width of the body of ear earphone and gauged where my ears will be. I then stuck them all together, and secured to either side of the helmet with Velcro. I used 4 as this is the perfect distance from the side of the helmet to where my ears are. IT's like I'm wearing the headphones. If I had a larger head, obviously I'd use less board layers and vice versa for a smaller head.
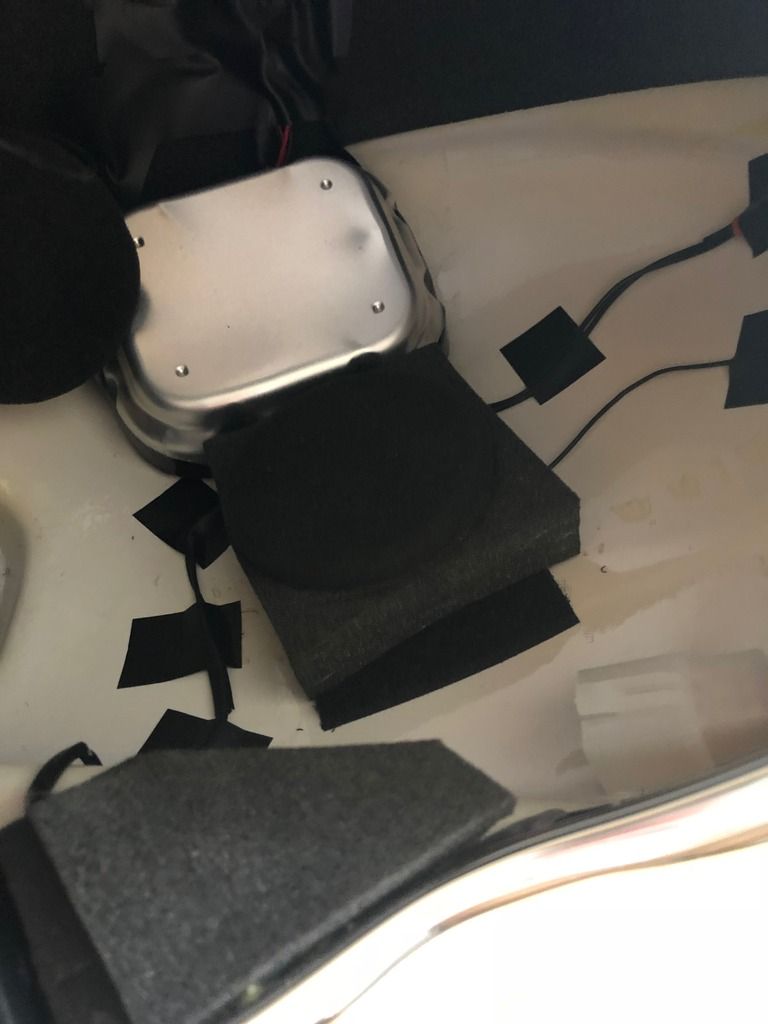
Image

Speaker 1 in place. Speaker two is secured in the same fashion.

All that's left to do now, is fill it with padding to make it snug. The templates I'll make from paper, and when the acoustic foam arrives, I'll make 3 templates for each side of the helmet and the rear.

When all is done the only thing left to do is spray the mouth piece a mid grey (not black!) and give the thing a polish.

More later guys :salute:

User avatar
MackUK
Phalanx Member
Posts: 86
Joined: Tue Nov 21, 2017 12:43 pm
Location: London, UK

Re: Gutting the inside of a Krop helmet

Post by MackUK » Thu Sep 27, 2018 11:54 am

So.. works been a little busy of late (stupid work!) but I'll get back next week on a progress update!

User avatar
MackUK
Phalanx Member
Posts: 86
Joined: Tue Nov 21, 2017 12:43 pm
Location: London, UK

Re: Gutting the inside of a Krop helmet

Post by MackUK » Sat Mar 09, 2019 9:36 am

So next week turned into three months out of the UK, but I'm back! I've been itching to get back to this project, and I knew exactly where I left off.

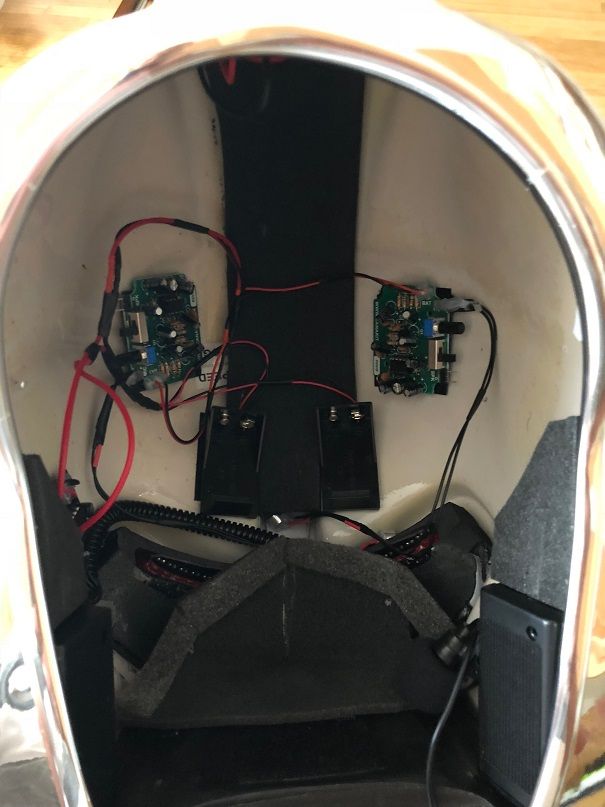
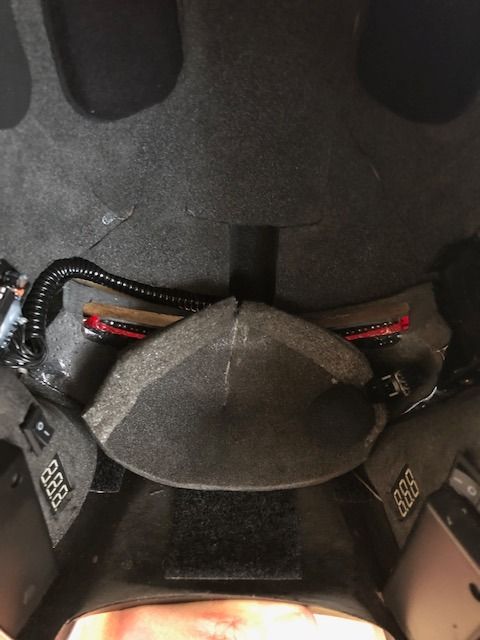
As you can see everything is in place. so it's just a case of tidying things up! I also wanted volt meters in there somewhere, and I managed to find the perfect spot just above the lower battery pack. Things are now quite tight, but I managed. The two switches are to turn each of the volt meters on and off t o save battery life. I loved the helmet with modelling foam, and although the camera has picked all the joints up, to the naked eye, you can't see them. I also got off eBay some foam helmet padding to ensure the helmet stays in places as it's front heavy with them 4 x 9v batteries.
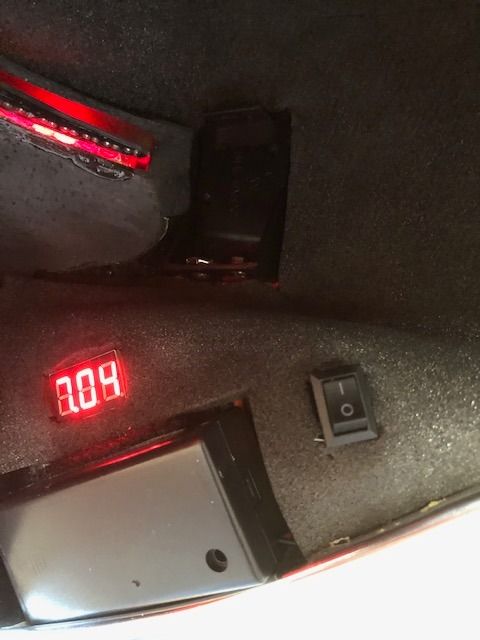
Here's the finished article... now I'm getting everything ready for London comicon this month.... Katie Sackhoff is going to be there along with No6. Tricia Helfer I think!
Image

Image
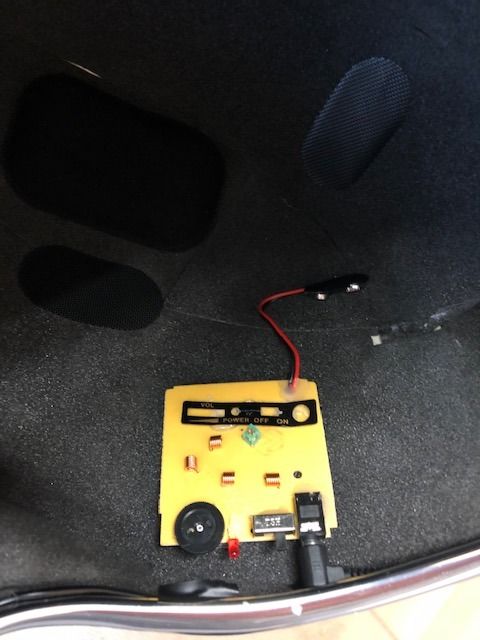
Remote mic sender.. no wires to the amplifier.

Image
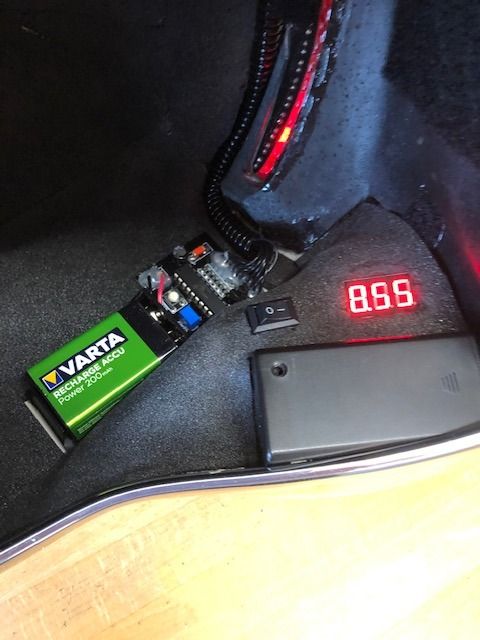
Eye controls with volt meter

Image
the finished article :)

I'm happy, but not overly happy about it. For a first attempt think I did ok. But for my gold cylon I'll be doing the same, and will have a much better idea of wiring etc. Hope you like!

Mack.

PS Ayyone else in London this month for comicon?

User avatar
MackUK
Phalanx Member
Posts: 86
Joined: Tue Nov 21, 2017 12:43 pm
Location: London, UK

Re: Gutting the inside of a Krop helmet

Post by MackUK » Sat Mar 09, 2019 9:38 am

MackUK wrote:
Sat Mar 09, 2019 9:36 am
So next week turned into three months out of the UK, but I'm back! I've been itching to get back to this project, and I knew exactly where I left off.

As you can see everything is in place. so it's just a case of tidying things up! I also wanted volt meters in there somewhere, and I managed to find the perfect spot just above the lower battery pack. Things are now quite tight, but I managed. The two switches are to turn each of the volt meters on and off t o save battery life. I lined the helmet with modeling foam, and although the camera has picked all the joints up, to the naked eye, you can't see them. I also got off eBay some foam helmet padding to ensure the helmet stays in places as it's front heavy with them 4 x 9v batteries.

Here's the finished article... now I'm getting everything ready for London comicon this month.... Katie Sackhoff is going to be there along with No6. Tricia Helfer I think!
Image

Image
Remote mic sender.. no wires to the amplifier.

Image
Eye controls with volt meter

Image
the finished article :)

I'm happy, but not overly happy about it. For a first attempt think I did ok. But for my gold cylon I'll be doing the same, and will have a much better idea of wiring etc. Hope you like!

Mack.

PS Ayyone else in London this month for comicon?

User avatar
GoldCylon
Founder
Posts: 6945
Joined: Fri Dec 02, 2005 3:02 pm
Location: Sacramento
Contact:

Re: Gutting the inside of a Krop helmet

Post by GoldCylon » Sat Jul 13, 2019 8:47 am

Nice upgrades. I really like the wrist gauntlet power switches :cylongold: :cylongold: :cylongold:

Post Reply

Return to “Centurion Builders' Forum”

Who is online

Users browsing this forum: No registered users and 1 guest